


Since EAD is doing DIY month in November, I thought I would share with you all my DIY necklaces and earrings that I made for my bridesmaids!
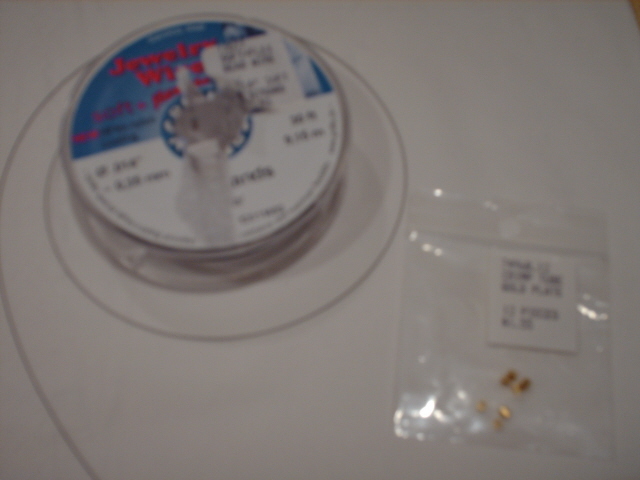
Early on, a friend of mine whose hobby it is to make jewelry suggested that we make something for my wedding. Since I wanted to give my bridesmaids something special for their gift, I thought this would be perfect. After discussing different styles and looks, we settled on using freshwater pearls and incorporating gold accents in with it. I thought this would be pretty with the gold accents I was using in the wedding and tie into their gold shoes. Also, freshwater pearls are pretty affordable. In Dallas, there is a place called the Rock Barrell that sells them, along with beads and findings for making jewelry. My total for all the supplies – the jewelry wire, the pearls, beads, crimp tubes, clasps, the earrings – was approx. $130. This also included 4 brooch backs that I ended up not using.
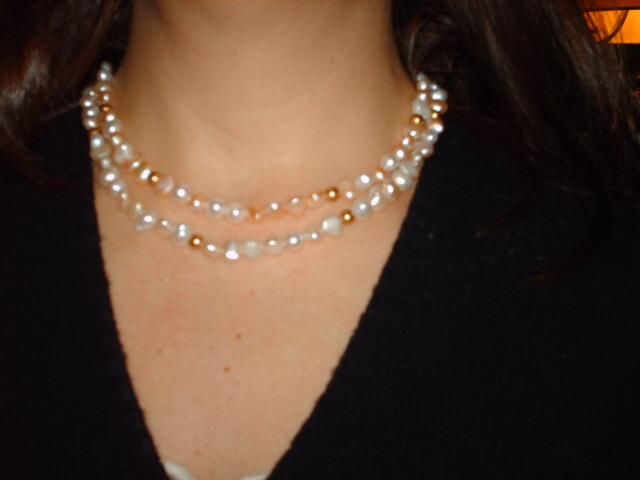
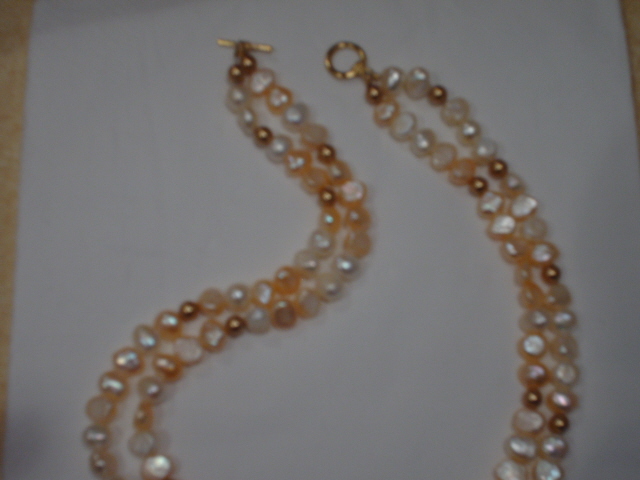
We decided on a double strand design of mixed freshwater pearls (whiter ones mixed with ones that had a “peachy” tone) and gold beads. For the earrings, we went simple and did studs.
And voila!
Here is a quick run-down of how we made them.
1) We took the pearls and beads off of the strings they were on.
2) Make an “end’ with a clasp and the jewelry wire and crimp. You will take the wire, cut to your desired length plus some extra, and put it through the crimp tube. Then, you string it through the eye where you attach it to the clasp. Then it’s back through the crimp tube. Pull the tube tight, up to where it’s strung through the clasp.
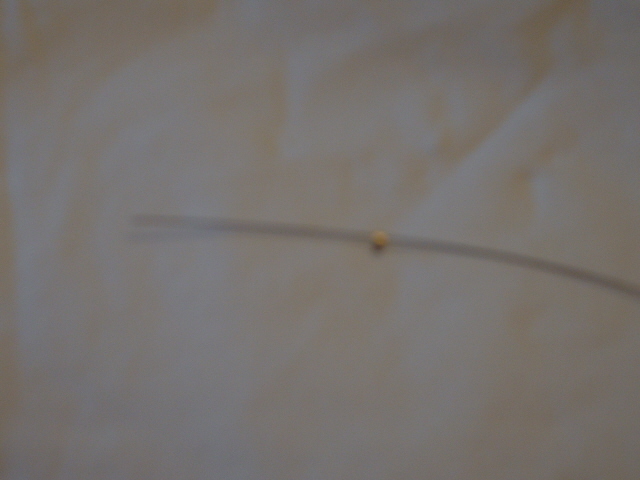
Sorry for the poor picture quality! No, my camera does not have a macro setting…
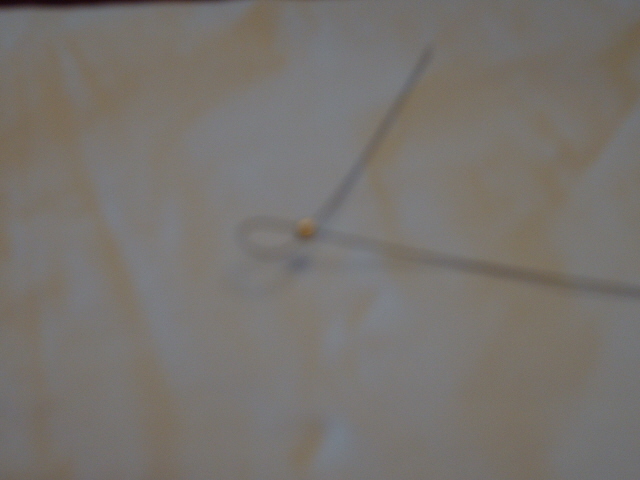
The above picture doesn’t show the loop attached to a clasp because, well, I didn’t take a picture until they were all done! But the loop would be attached to a clasp…
Moving on.
3) After the wire is secure and tight, you can start stringing beads! Sting until your heart’s content, and then attach the other side of the clasp the same way as before. We finished them off by threading the extra wire back through the beads to add extra strength instead of cutting it. Sometimes this was easy, sometimes not. Not all the beads were drilled the same!
As I said, we did 2 strands. We just attached each strand to the clasp separately.
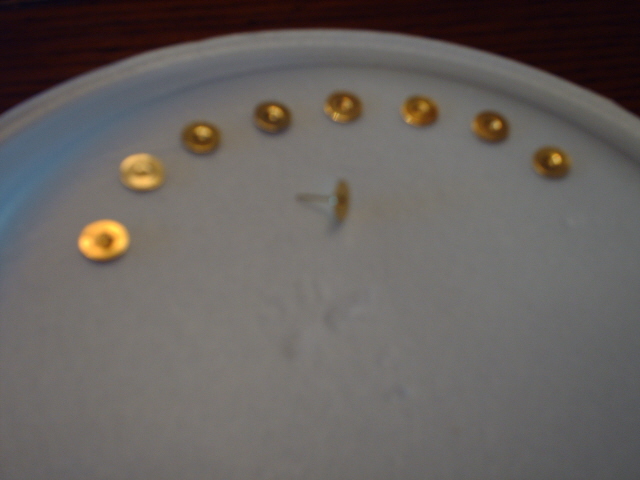
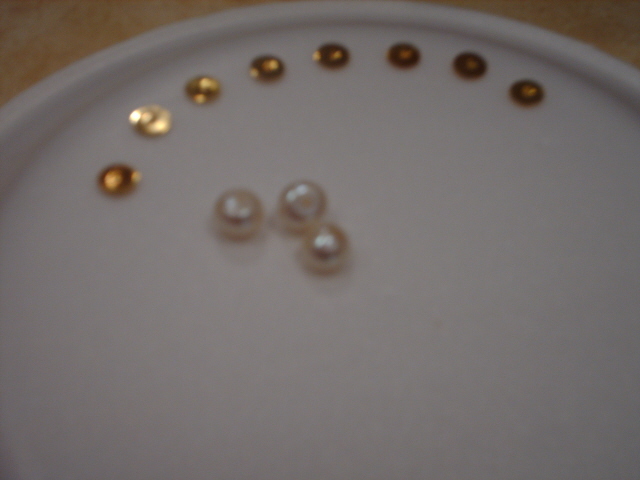
For the earrings, you will need the posts and the pearls. I used a styrofoam plate (upside down) to “hold” the posts.
Then, I added a couple tiny small drops of Krazy Glue to them and set the pearls on top.
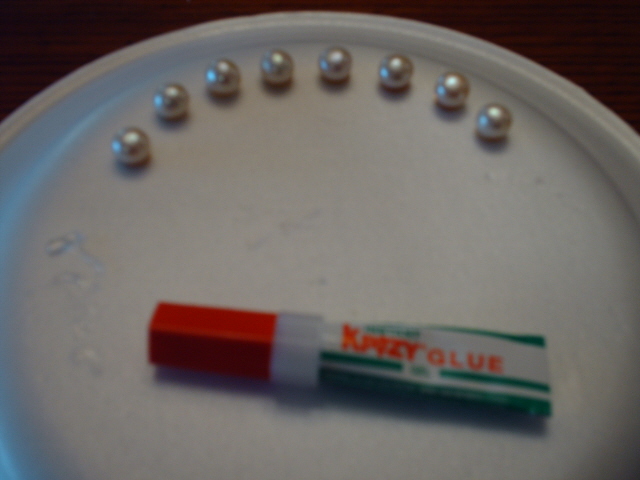
After they dry, they are ready to wear!
This was such an easy project! And I think it turned out much better than I could have expected. Plus, the finished total per girl was only about $28 for earrings AND necklace! I also have leftover wire, some crimps, a few beads, and some earring backs – so for my next project I may not need to buy so much!
I plan on wrapping these up in pretty boxes and giving them to my bridesmaids this weekend at our couples shower, and I can’t wait for them to see them!
Hope you all have a great weekend!!