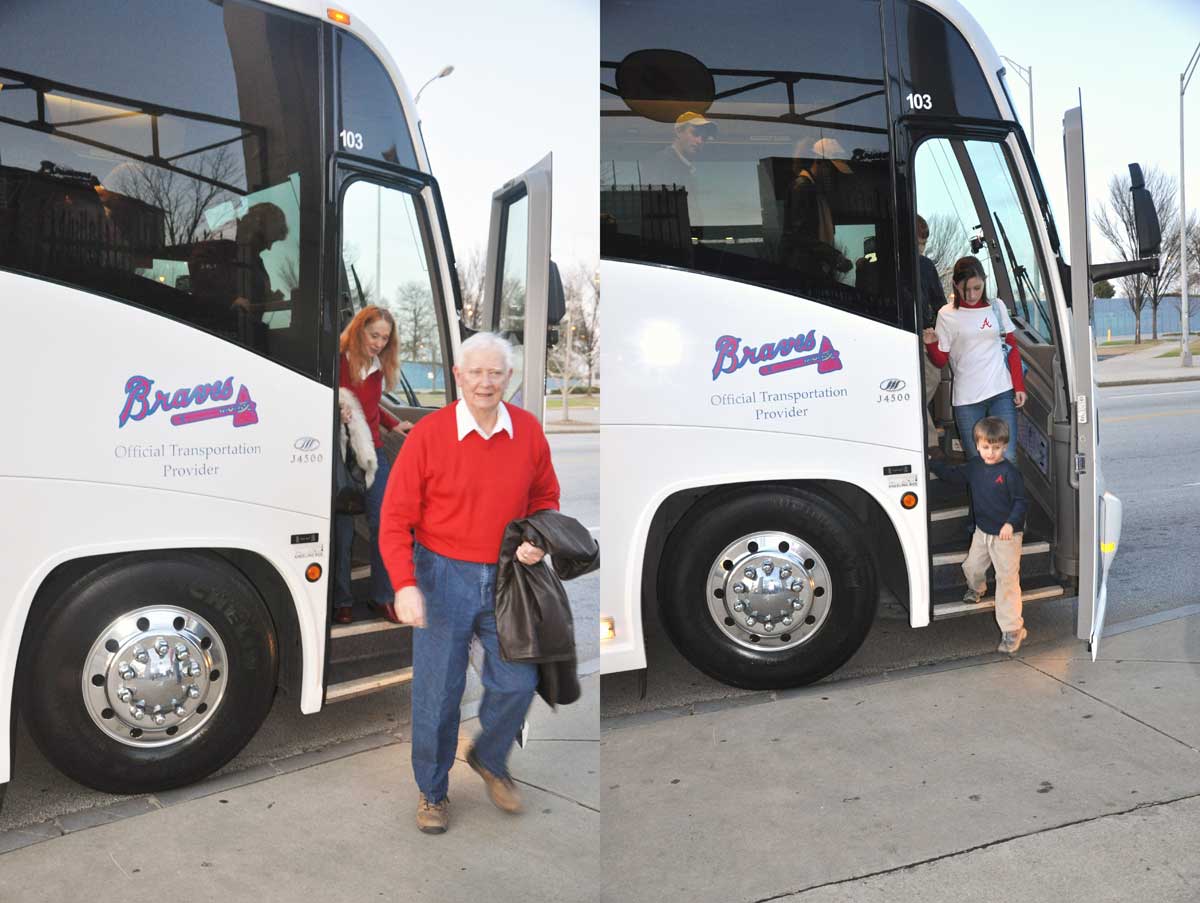
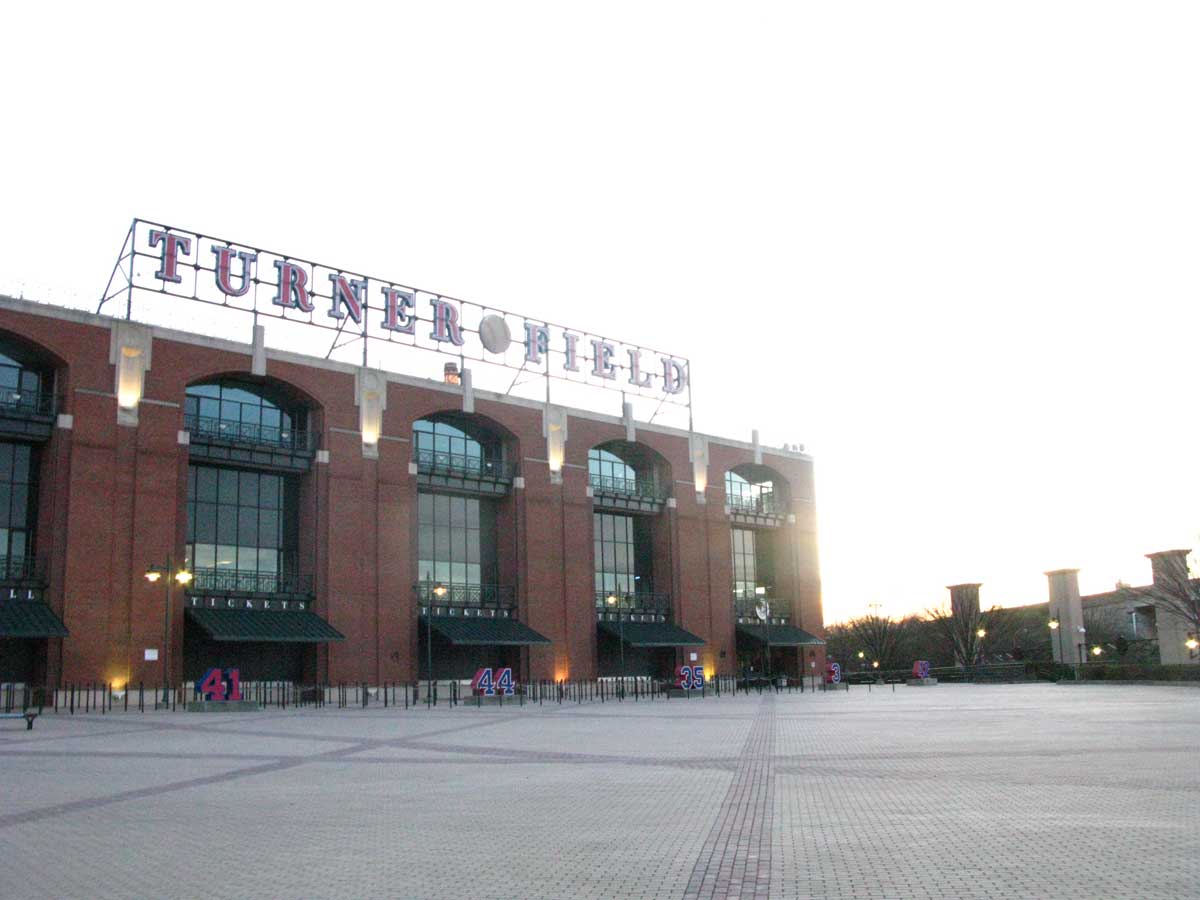
The official [intlink id=”4148″ type=”post”]Braves bus[/intlink] (which I am still sad I didn’t get to ride!) dropped our guests off at the front gates of Turner Field, the site of our Welcome Party. All of the guests were instructed to wear red, white, and navy (and preferably Braves gear!).
{Image via Feisty Tourist}
We got SO lucky with the weather – the day we arrived, it was cloudy with drizzles, and the day we left town, it was raining, but during the three days of our event, Atlanta had the most fabulous weather! The night of the Welcome Party was 60 and sunny.
{Image via Jenna}
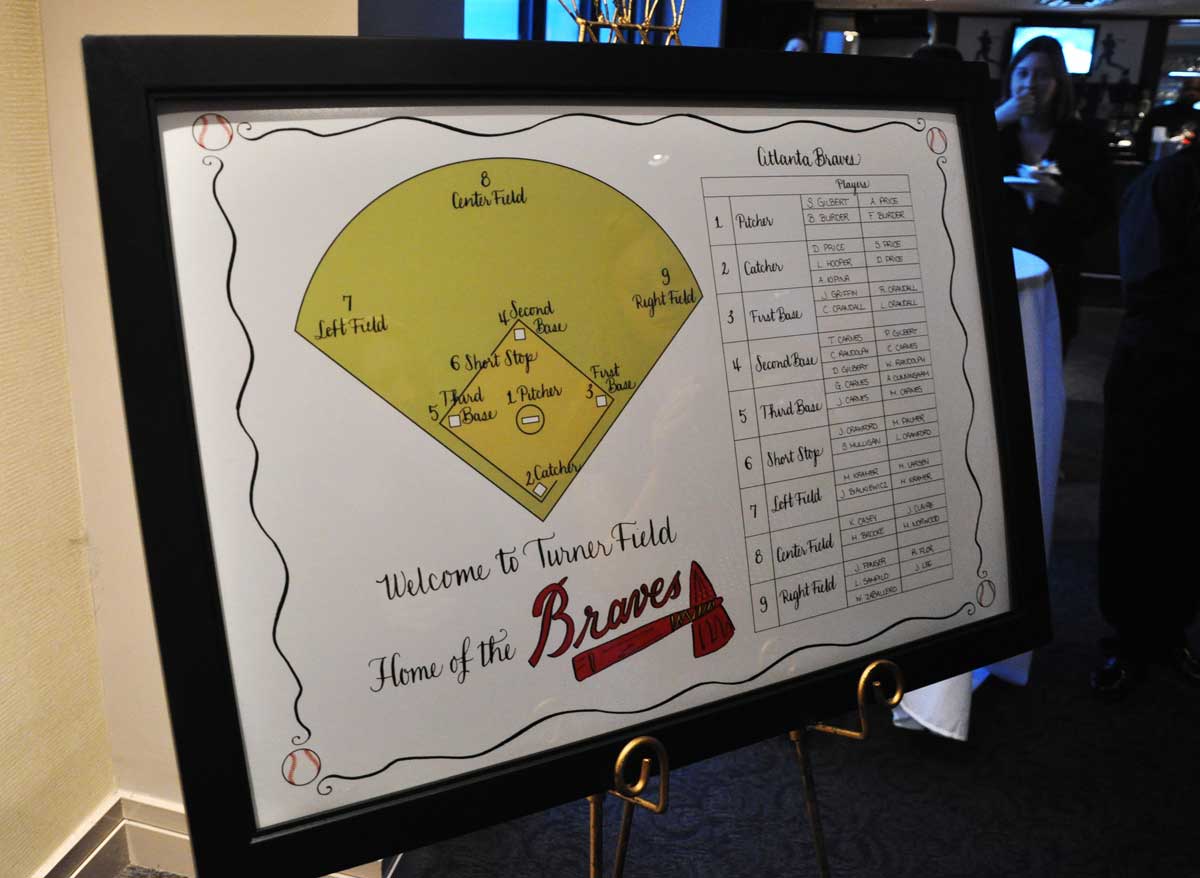
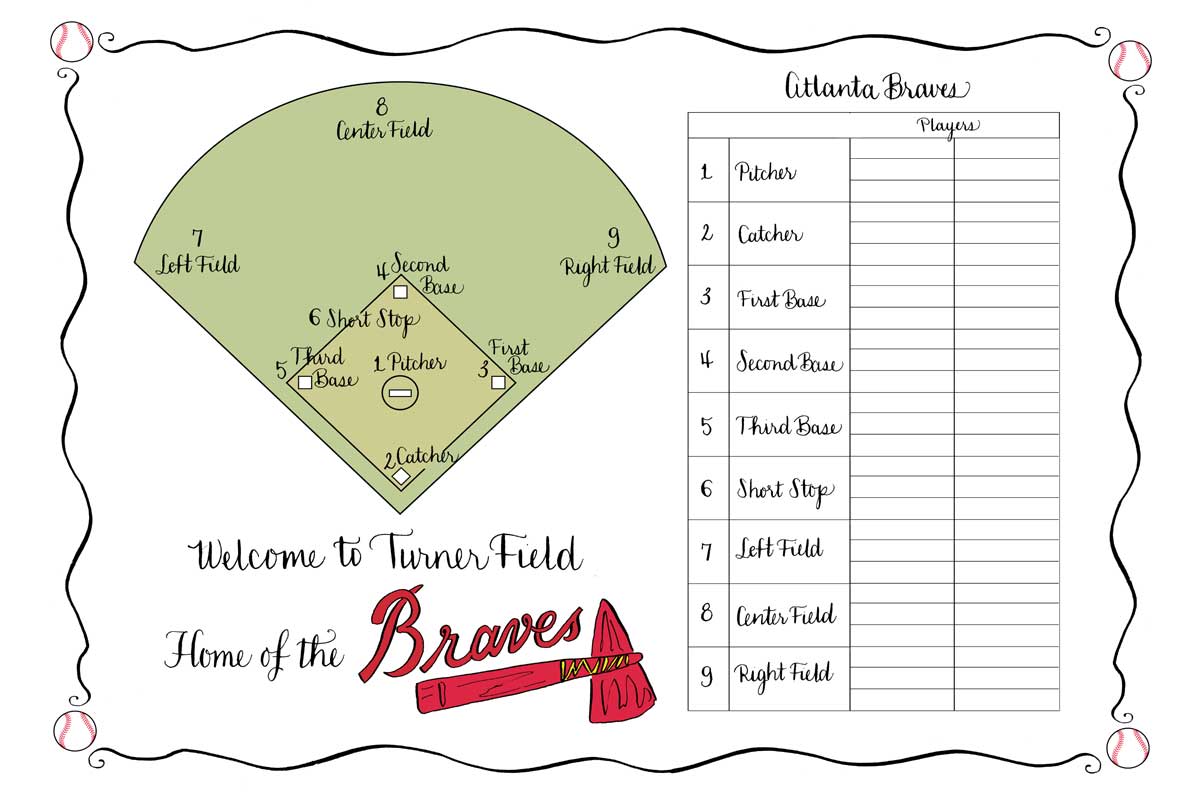
Walking into the 755 Club, guests were greeted with one of my favorite things from the whole event – my lineup card seating chart created by Laura Hooper. Let me just tell you how nervous I was writing in the guests’ names to the lineup card – I would have been so upset if I ruined her gorgeousness. :)
{Image via Feisty Tourist}
{Author’s personal collection, © Laura Hooper}
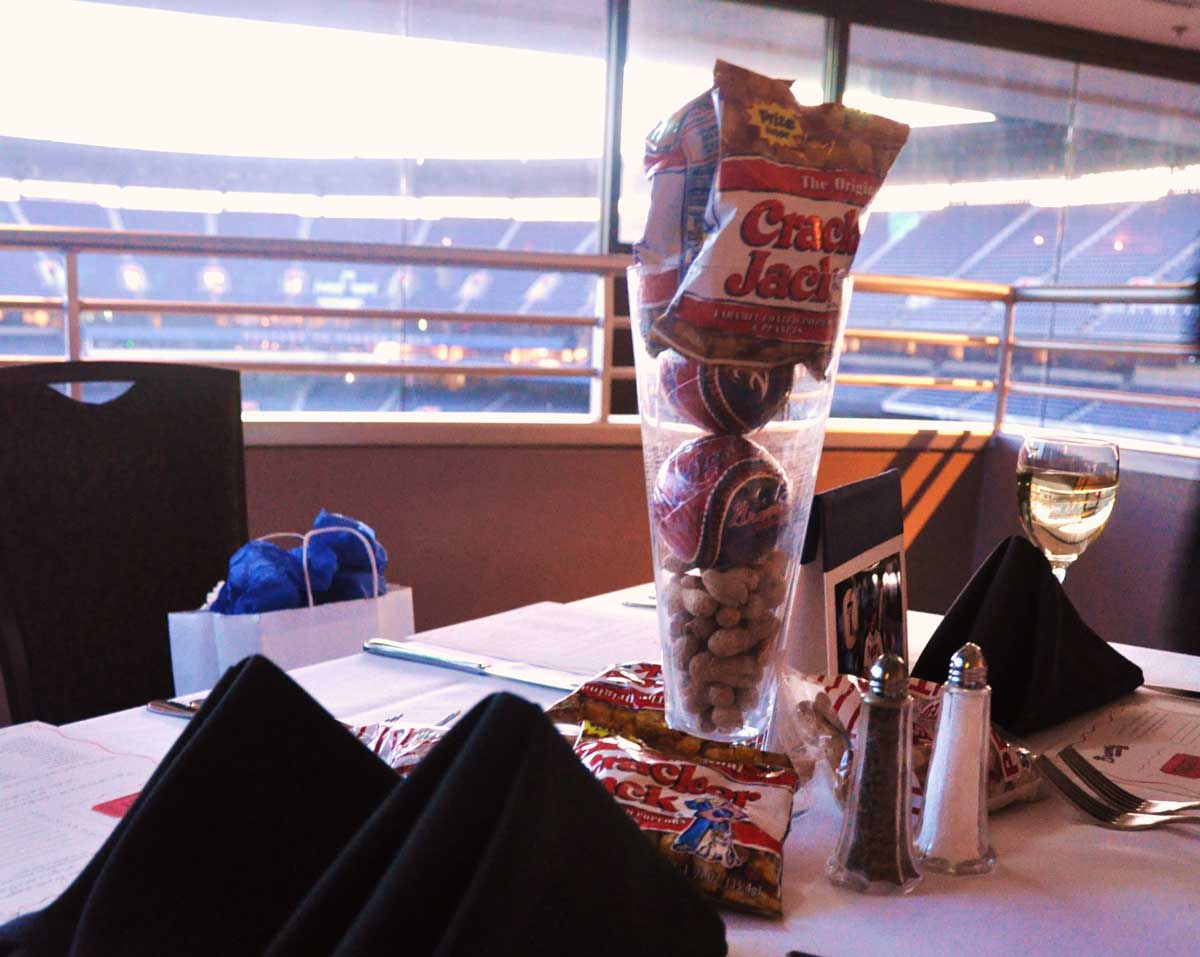
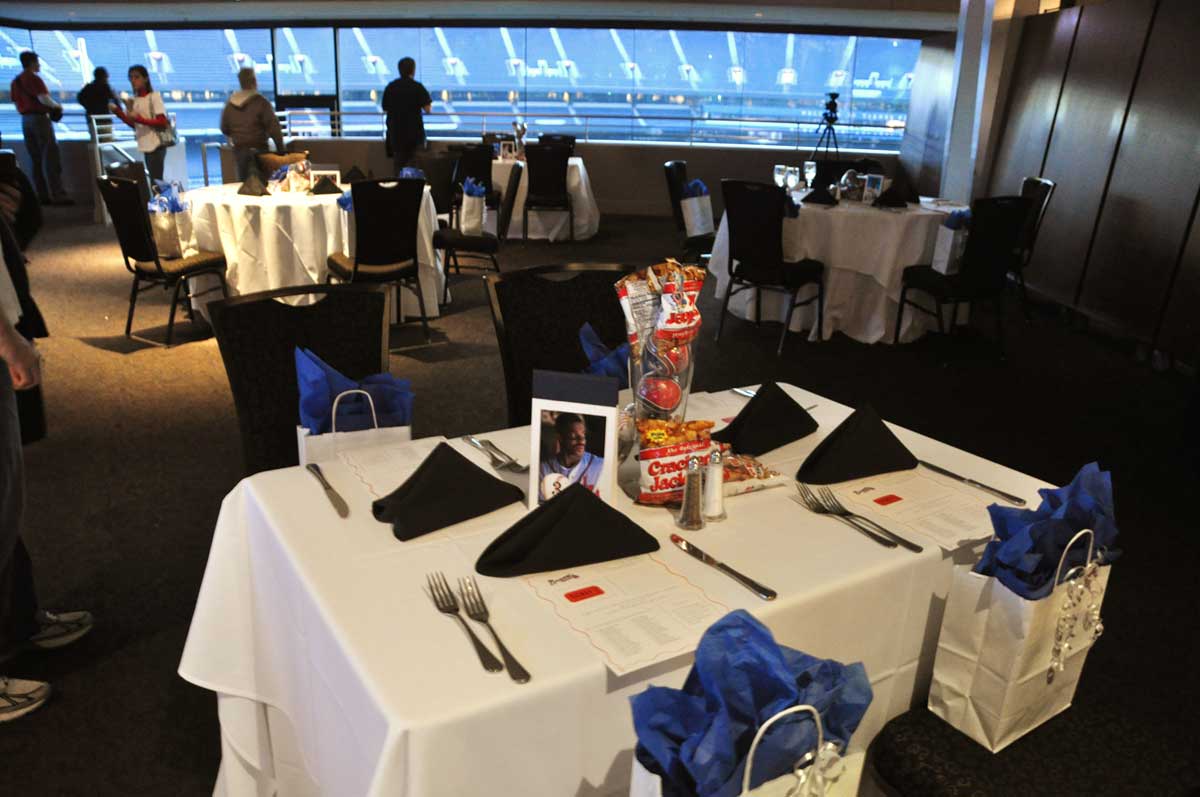
Each table was a position on the field corresponding to the baseball scorecard. And each table number was made with pictures of the most famous Braves player to play that position. These came into play during the party as you will see later today…
{Image via Feisty Tourist}
The centerpieces were finished off with peanuts, cracker jacks, and Braves baseballs.
{Image via Feisty Tourist}
The table numbers were very easy to DIY. You will need:
- Two identically sized pieces of chipboard. For a vertical 4×6 picture, you will need 2 pieces that are 5 x 8.5. For a horizontal 4×6 picture, you will need 2 pieces that are 7 x 6.5. You can cut chipboard at most of your local art stores.
- Two 4×6 printed pictures – I photoshopped in the baseball and table number prior to printing.
- Plain or patterned paper
- Heavy adhesive
- Bookcloth
First, cover the outside of each piece of chipboard with paper. A great tutorial is here. Then trim a piece of the same paper slightly smaller than the piece of board and cover the insides. Cut your booklining to strips of 3.75″ width and coat with adhesive (I use positionable mounting adhesive), then adhere it to the top 1.5″ of the outside of a piece of chipboard. Leave .5″ and then adhere to the outside of the other piece of chipboard. Wrap around the edges and secure. Center your picture on both pieces of chipboard. To finish it up, I created a small accordion fold of the white paper and glued it to the inside of both boards.
Let me know if that made sense!
Later today, more details from the Welcome Party and tour of Turner Field.
E.

