As I may have mentioned before, M is an English teacher and I an avid lover of books and literature. This common ground proved to be one of the first things we truly bonded over as I made it my goal in life to prove to the English teacher that I, a mere mortal, was actually more well read than he. It took some time and some effort, but he finally relented that my years as a bookworm as a kid while he was honing his pitching skills on the baseball field did, in fact, make my book collection far vaster than his. Luckily for me, his ego was able to handle it and we’ve been trading books back and forth ever since.
Incorporating this shared love and this side of our personalities was a must for me. Pretty early on I had decided on bookmarks as favors, but along the way the idea evolved into creating personalized bookmark save the dates and asking people to “Bookmark the Date” as opposed to “Save the Date.” These took far longer than I might have hoped, but having sent them out before Christmas I am still hearing rave reviews a couple of months later so the work with was well worth the cause. People have a hard time believing they were handmade and as a perfectionist lover of all things homespun, I love hearing that more than you can imagine.
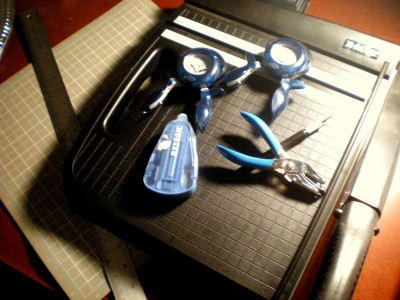
First up, the tools of the trade:
- Fiskars Corner Squeeze Punch {Something Old, Something New}, approx. $12 @ Michael’s
- Fiskars Corner Squeeze Punch {‘Round the Corner}, approx. $12 @ Michael’s
- (10) spools of 1/4″ ribbon, approx. $7 @ Michael’s on sale
- (50) sheets of Champagne Metallic Card Stock 107# from Paper and More, approx. $15
- (100) Recycled Brown Kraft Envelopes, A1 (4Bar) from Paper and More, approx. $16
- (15) sheets of gray cover stock from Staples, approx. $1
- (5) books of stamps, $42
Additional tools of the trade I already owned:
- X-Acto Paper Cutter
- X-Acto knife with #11 blades
- Self-healing cutting mat
- 1/4″ hole punch
- Xyron Adhesive Runner
Total Cost: $81 for 100 bookmarks and 100 accompanying information cards
[This price does not include the cost of the new printer I purchased to tackle the printing or the corner punches which will all be used numerous times for future projects – this also does not reflect previously owned items which have been used on countless occasions, many since architecture school. Also, our actual cost was only about $40 as I was granted postage via my office, but I included that in the price estimate recognizing most people would have to pay for postage.]
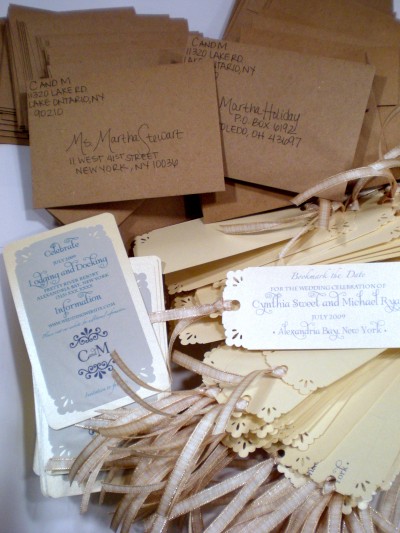
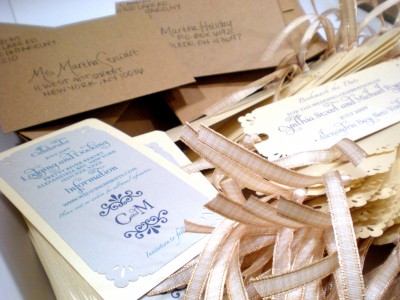
All 100 bookmarks and accompanying information cards stacked up and ready to be stuffed and mailed.
I laid everything out in Adobe Illustrator, but I played around a bit just to experiment for those who don’t have access to pricey software and the same thing could definitely be achieved in PowerPoint by using text boxes and some patience. In the end, I had some struggles getting this thick pearlescent card stock to feed in my inkjet printer and I ultimately scrapped my plans for gorgeous printed envelope labels. Instead I channeled the good ‘ol days of architecture school and just quickly addressed all 100 envelopes by hand one night in front of Project Runway reruns. I like the simplicity of black ink printed on the brown kraft, but I do think the labels would have stepped it up an extra notch.
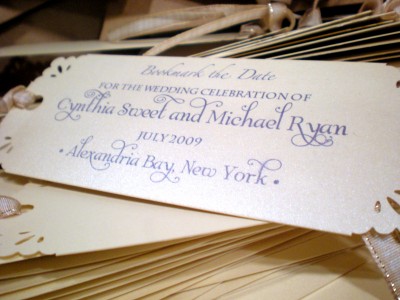
Being the good little blogger that I am, I even made one blog-friendly version to protect the innocent without having to blur anything out in Photoshop. While not our real names, this gives a good feel for how they looked in the real version that was mailed to our guests.
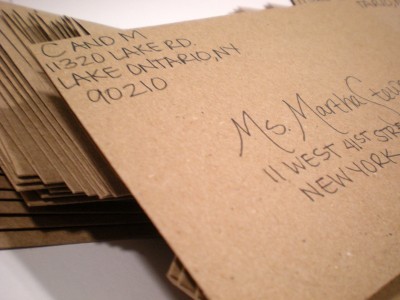
Nope, our zip code is not 90210 either. I reckon if it were it’d be much warmer right now.
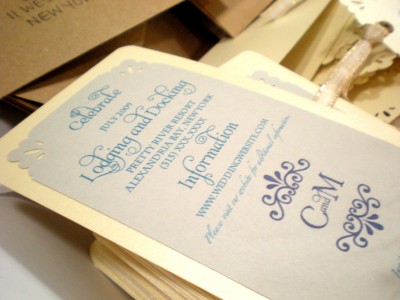
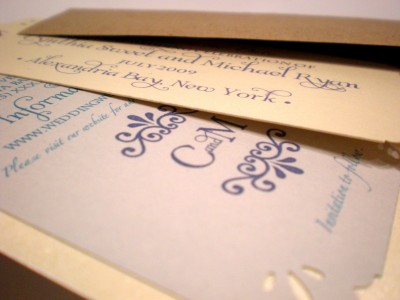
We included a simple information card that listed the location, phone number and website of our venue, as well as our wedding website. This was also my first chance to showcase the simple monogram I had already designed.
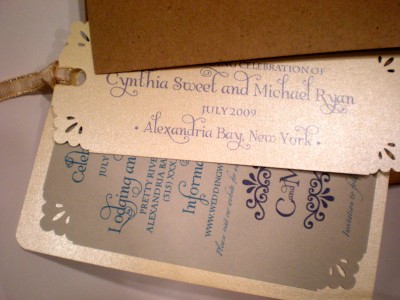
Here you can really see the pretty pearlescence of the metallic card stock. I think it was my favorite part!
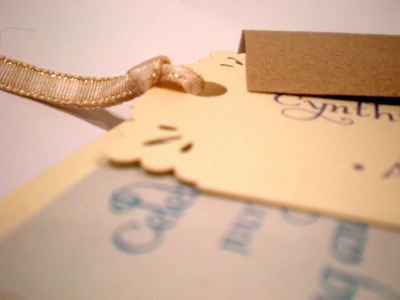
A good look at the ribbon detail.
I used three fonts to lay out the bookmarks. The primary font was Albemarle Swash and I did actually buck up and pay the $12 for it, but I am so glad I did. The serif font is Charlemagne and the script font is Zapfino, both of which are Mac standard fonts. Overall, save for some printing woes, it was a fairly straightforward project and one which I would definitely tackle again. I get excited everytime I see one tucked into a book at the home of a loved one, which has happened a few times and somehow sending these out made everything about the wedding seem more real. Hopefully the rest of my upcoming projects are just as succesful.
Is anyone else handcrafting their Save the Dates?

