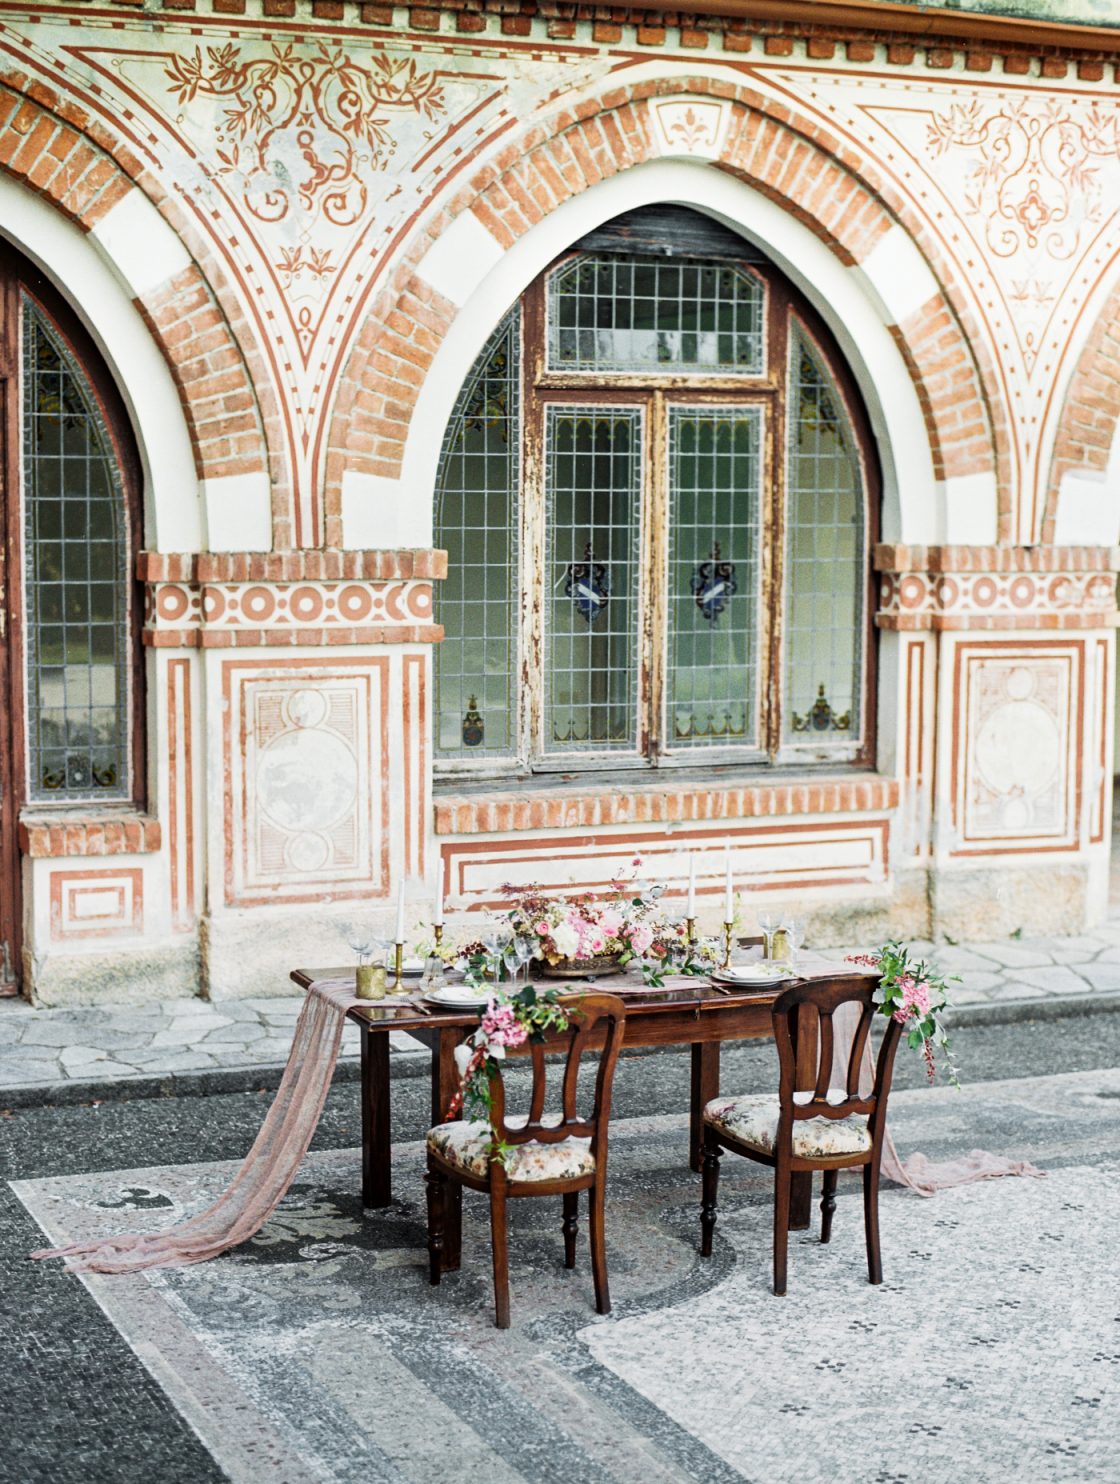
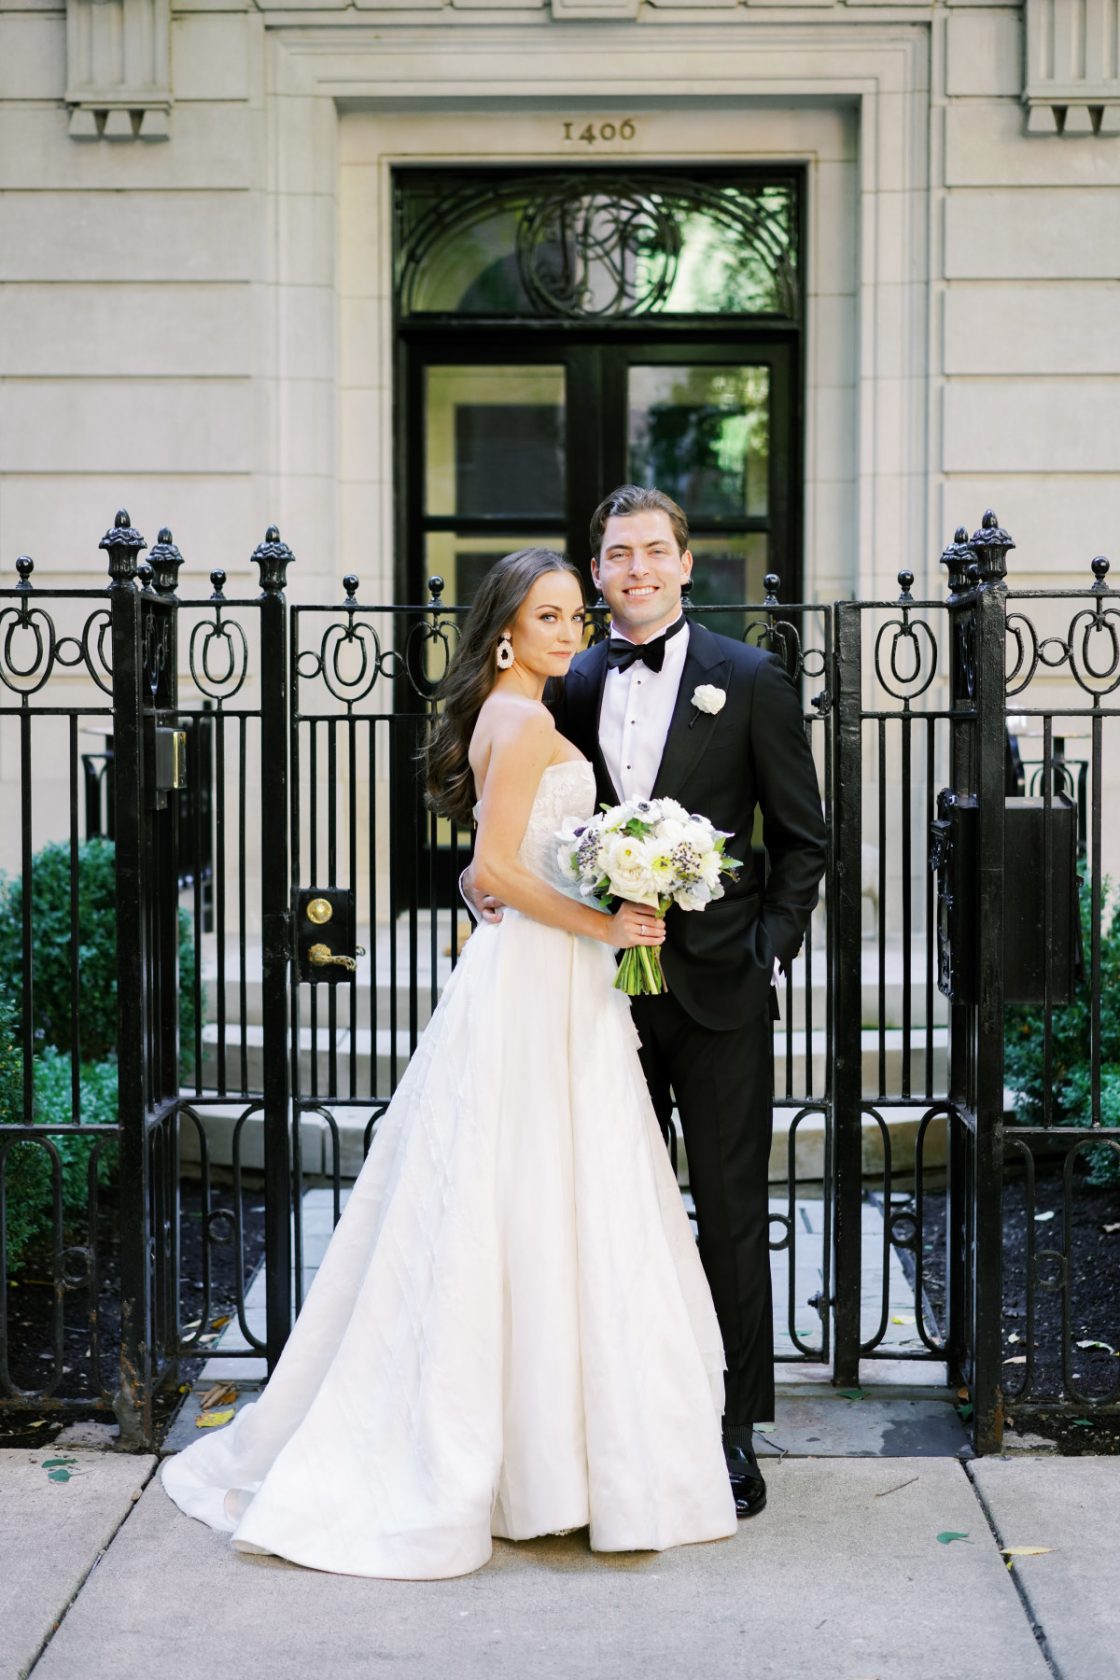
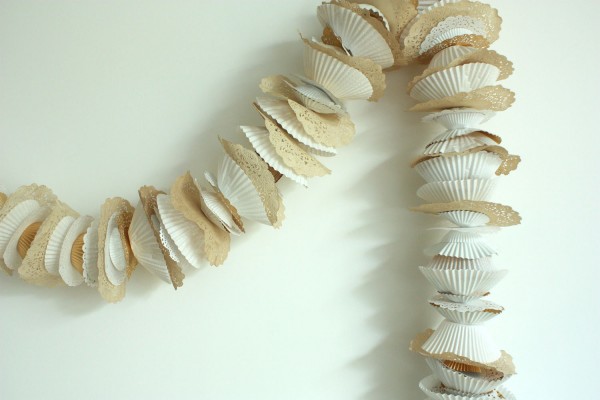
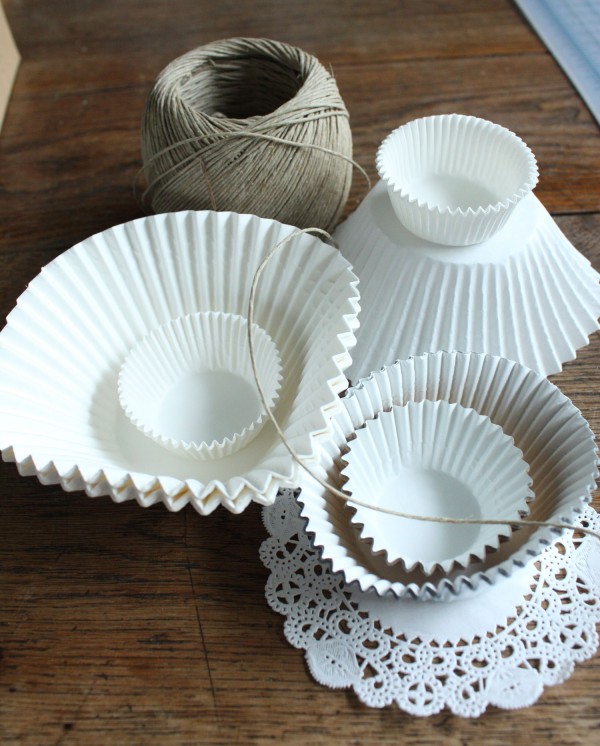
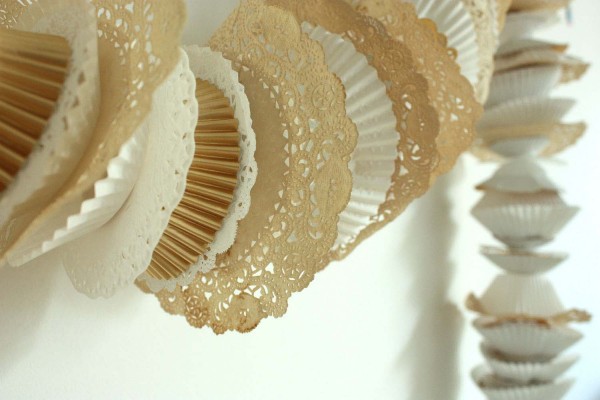
This doily and cupcake liner garland adds a romantic, handmade touch to your decor, and it’s super fun and easy to do! You can use the doilies as they come, but we decided to tea-stain ours to add a little color. We also used a variety of different sized cupcake liners to add dimension.
Supplies needed:
- variety of cupcake liners
- white paper doilies
- stove top
- twine
- large sewing needle
- tea
- medium sized sauce pan
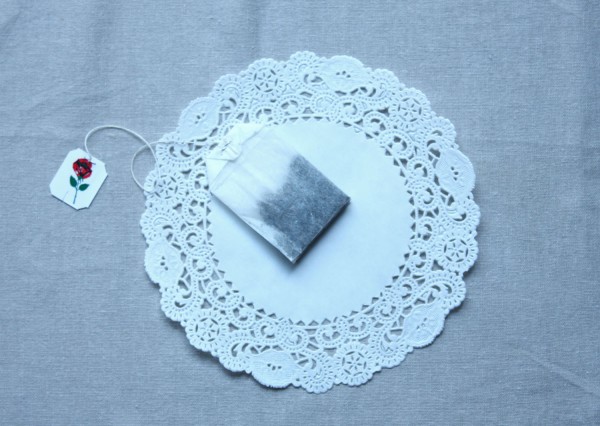
1. Fill the sauce pan with water and place 6 tea bags in it. Turn the heat to med-low and let the tea begin to brew. Note: the more tea you use, the darker the color will be.
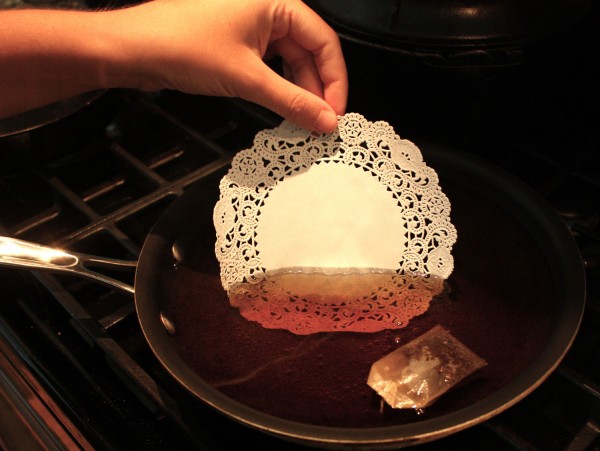
2. After about 10 minutes, when the water has become a nice tea color, place 1 – 4 doilies in the water. The more doilies, you add to the pan, the more likely they will rip, so be gentle.
3. Let the doilies soak for about 15 minutes, remove from pan, and place on a dish towel to dry. The longer you let them stay in the pan, the darker the color will become, but you don’t want to leave them in too long or they will start to fall apart.
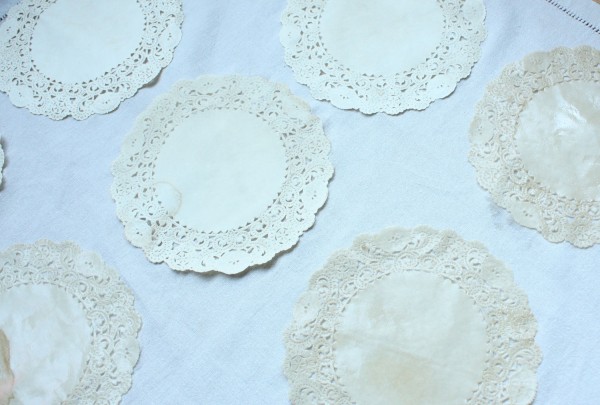
4. Once the doilies are dry, thread the needle with the desired length of twine, knotting it at one end.
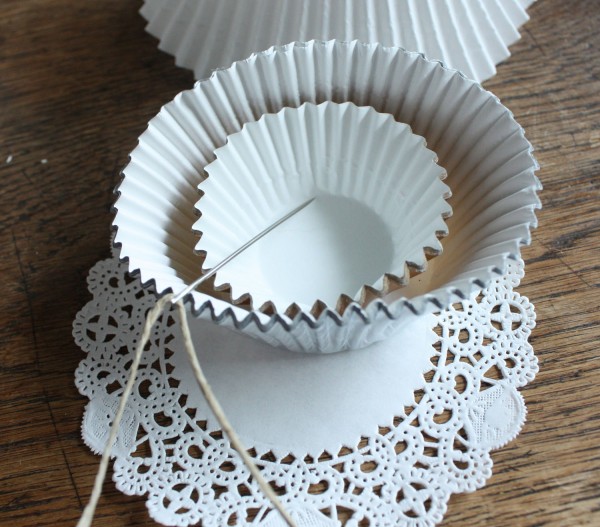
5. You can either flatten the cupcake liners or leave them the way they are. In this garland we did a bit of both, but it’s really up to you.
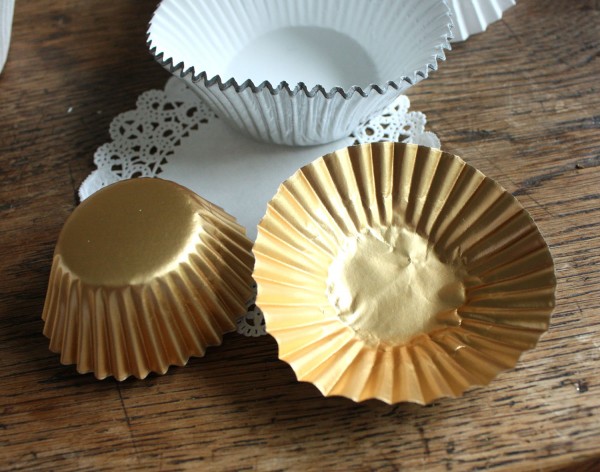
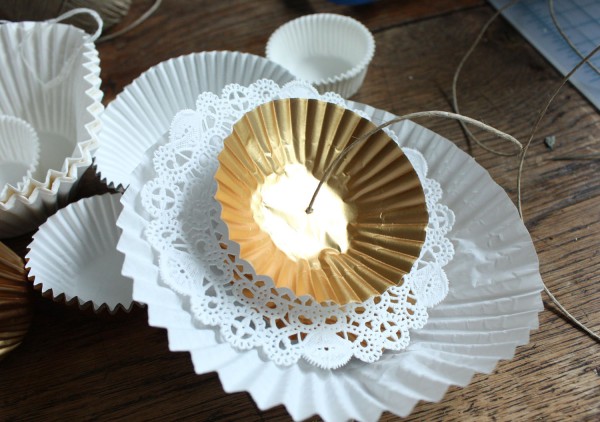
6. Poke the needle through each layer as you like.
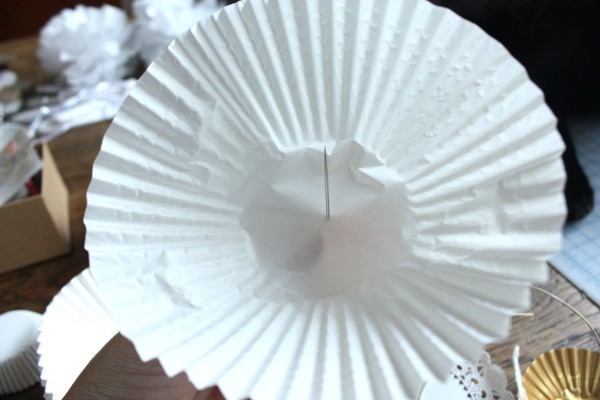
7. Repeat until you reach your desired length, then knot the twine at the other end.
Hang and enjoy!
Tutorial by Andrea Gray Harper for Elizabeth Anne Designs. View the printable version here!

