


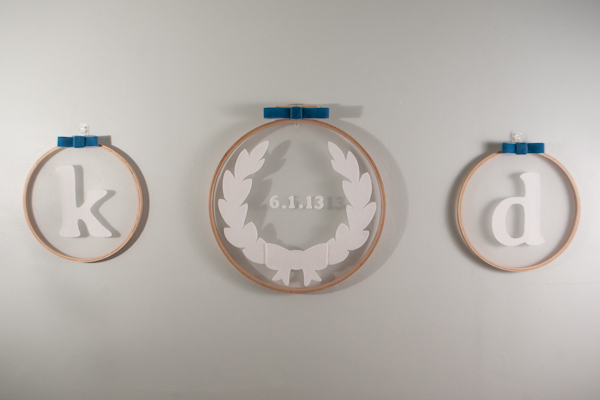
We have another gorgeous DIY project for you today! Rafters of Cedars creates some of the most gorgeous chuppas we’ve ever seen and we’re incredibly lucky that Diana has shared this tutorial on how to create your own monogrammed embroidery hoops. They would be lovely as an accent piece at weddings, anniversaries, or also in children’s rooms.
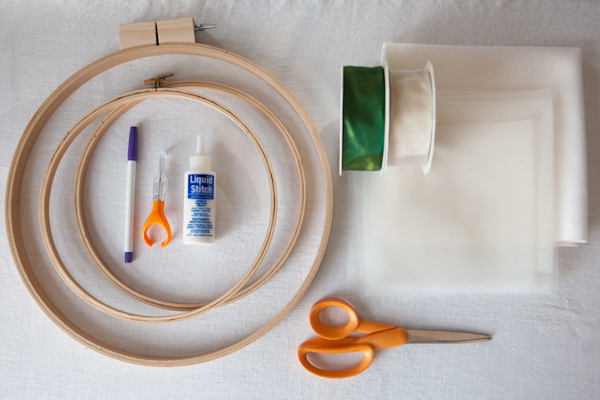
What you’ll need:
- Tulle Netting (3 squares — 2 15” squares and 1 18” square)
- Wool Felt (standard size square from Purl Soho; 18” x 18” square)
- Embroidery Hoops (3 total, 2 10” embroidery hoops and 1 14” quilting hoop)
- Scissors
- Tailors Chalk or Vanishing Fabric Marker
- Liquid Stitch or other textile glue
- Ribbon in a color that complements your felt (2 — 7” strips, 1 — 11” strip; 3 — 2” strips)
What to do:
1) Download & print templates for the wreath and bow and the letters and numbers you’ll be using:
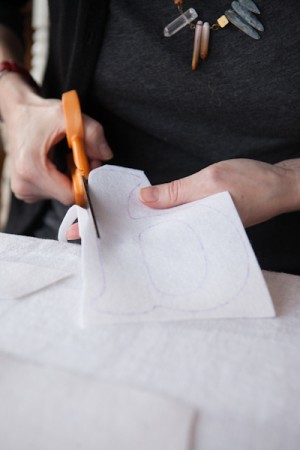
2) Cut out paper templates
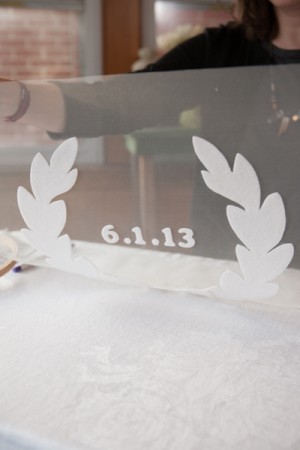
3) Lay templates right-side down on felt and trace with tailor’s chalk or vanishing marker. For the wreath, you will trace the template twice–once face down and once face up, to create the two halves of the wreath.

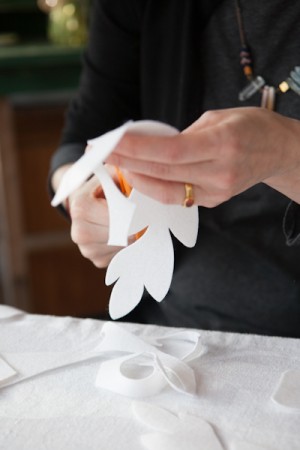
4) Cut out felt designs
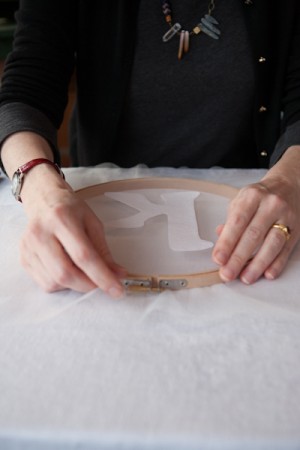
5) Place hoop on your work surface. Using it as a guide, arrange your precut pieces face down where you would like them to be in the hoop
6) Remove hoop and apply liquid stitch to the back of the felt pieces
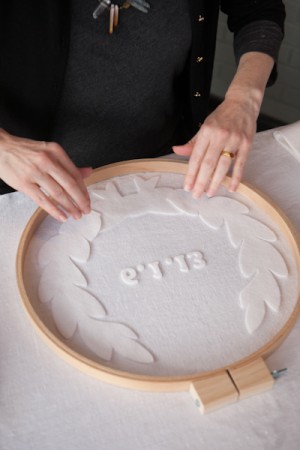
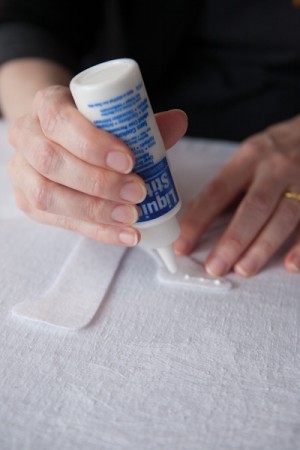
7) Carefully lay the tulle square over the felt pieces, making sure to keep the design centered. Gently pat the glue to adhere it
8) Allow all the pieces to dry thoroughly
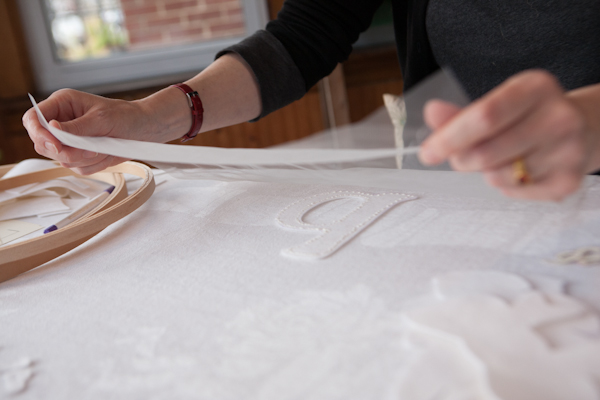
9) Disassemble hoop and set netting in the appropriate placement for each hoop
10) Reassemble hoop while pulling the netting taut
11) Trim excess netting
12) Repeat steps 9-11 for each hoop
13) Add pre-tied ribbon bows to cover hoop screws
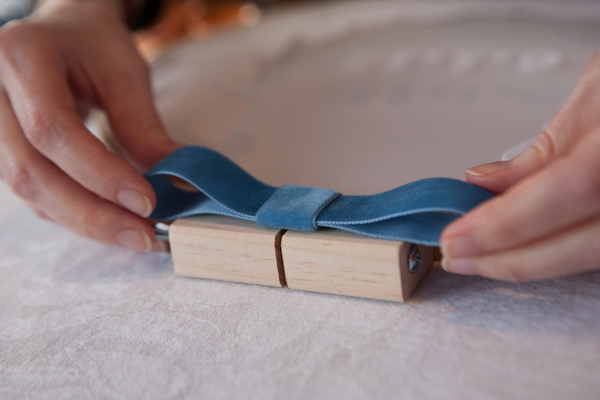
Pre-tied ribbon bows
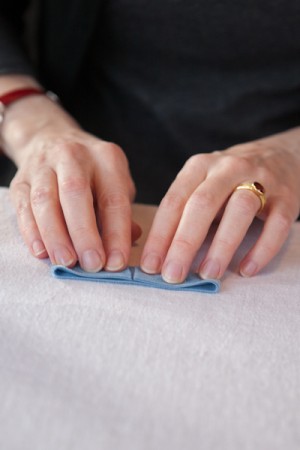
1) For the smaller bow, place a 7” length of ribbon face down on the work surface. Fold in the two ends so that they meet in the middle. Glue down the ends with textile glue.
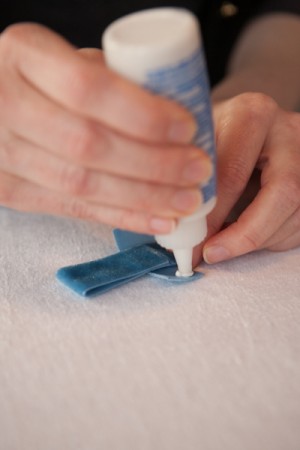
2) Wrap a 2” length of ribbon around the center of the bow, centering the ends on the back side. Glue down the ends. Allow to dry before using.
To make the larger bow, repeat these same steps using an 11” length of ribbon in step 1.
Photography – Lily Red Studio \ Tutorial – Rafters of Cedars