


This year I made use of some leftover items from DIY projects past and made ornaments for my Christmas cards. They were SO easy to make!
Here are pics and instructions:
You will need:
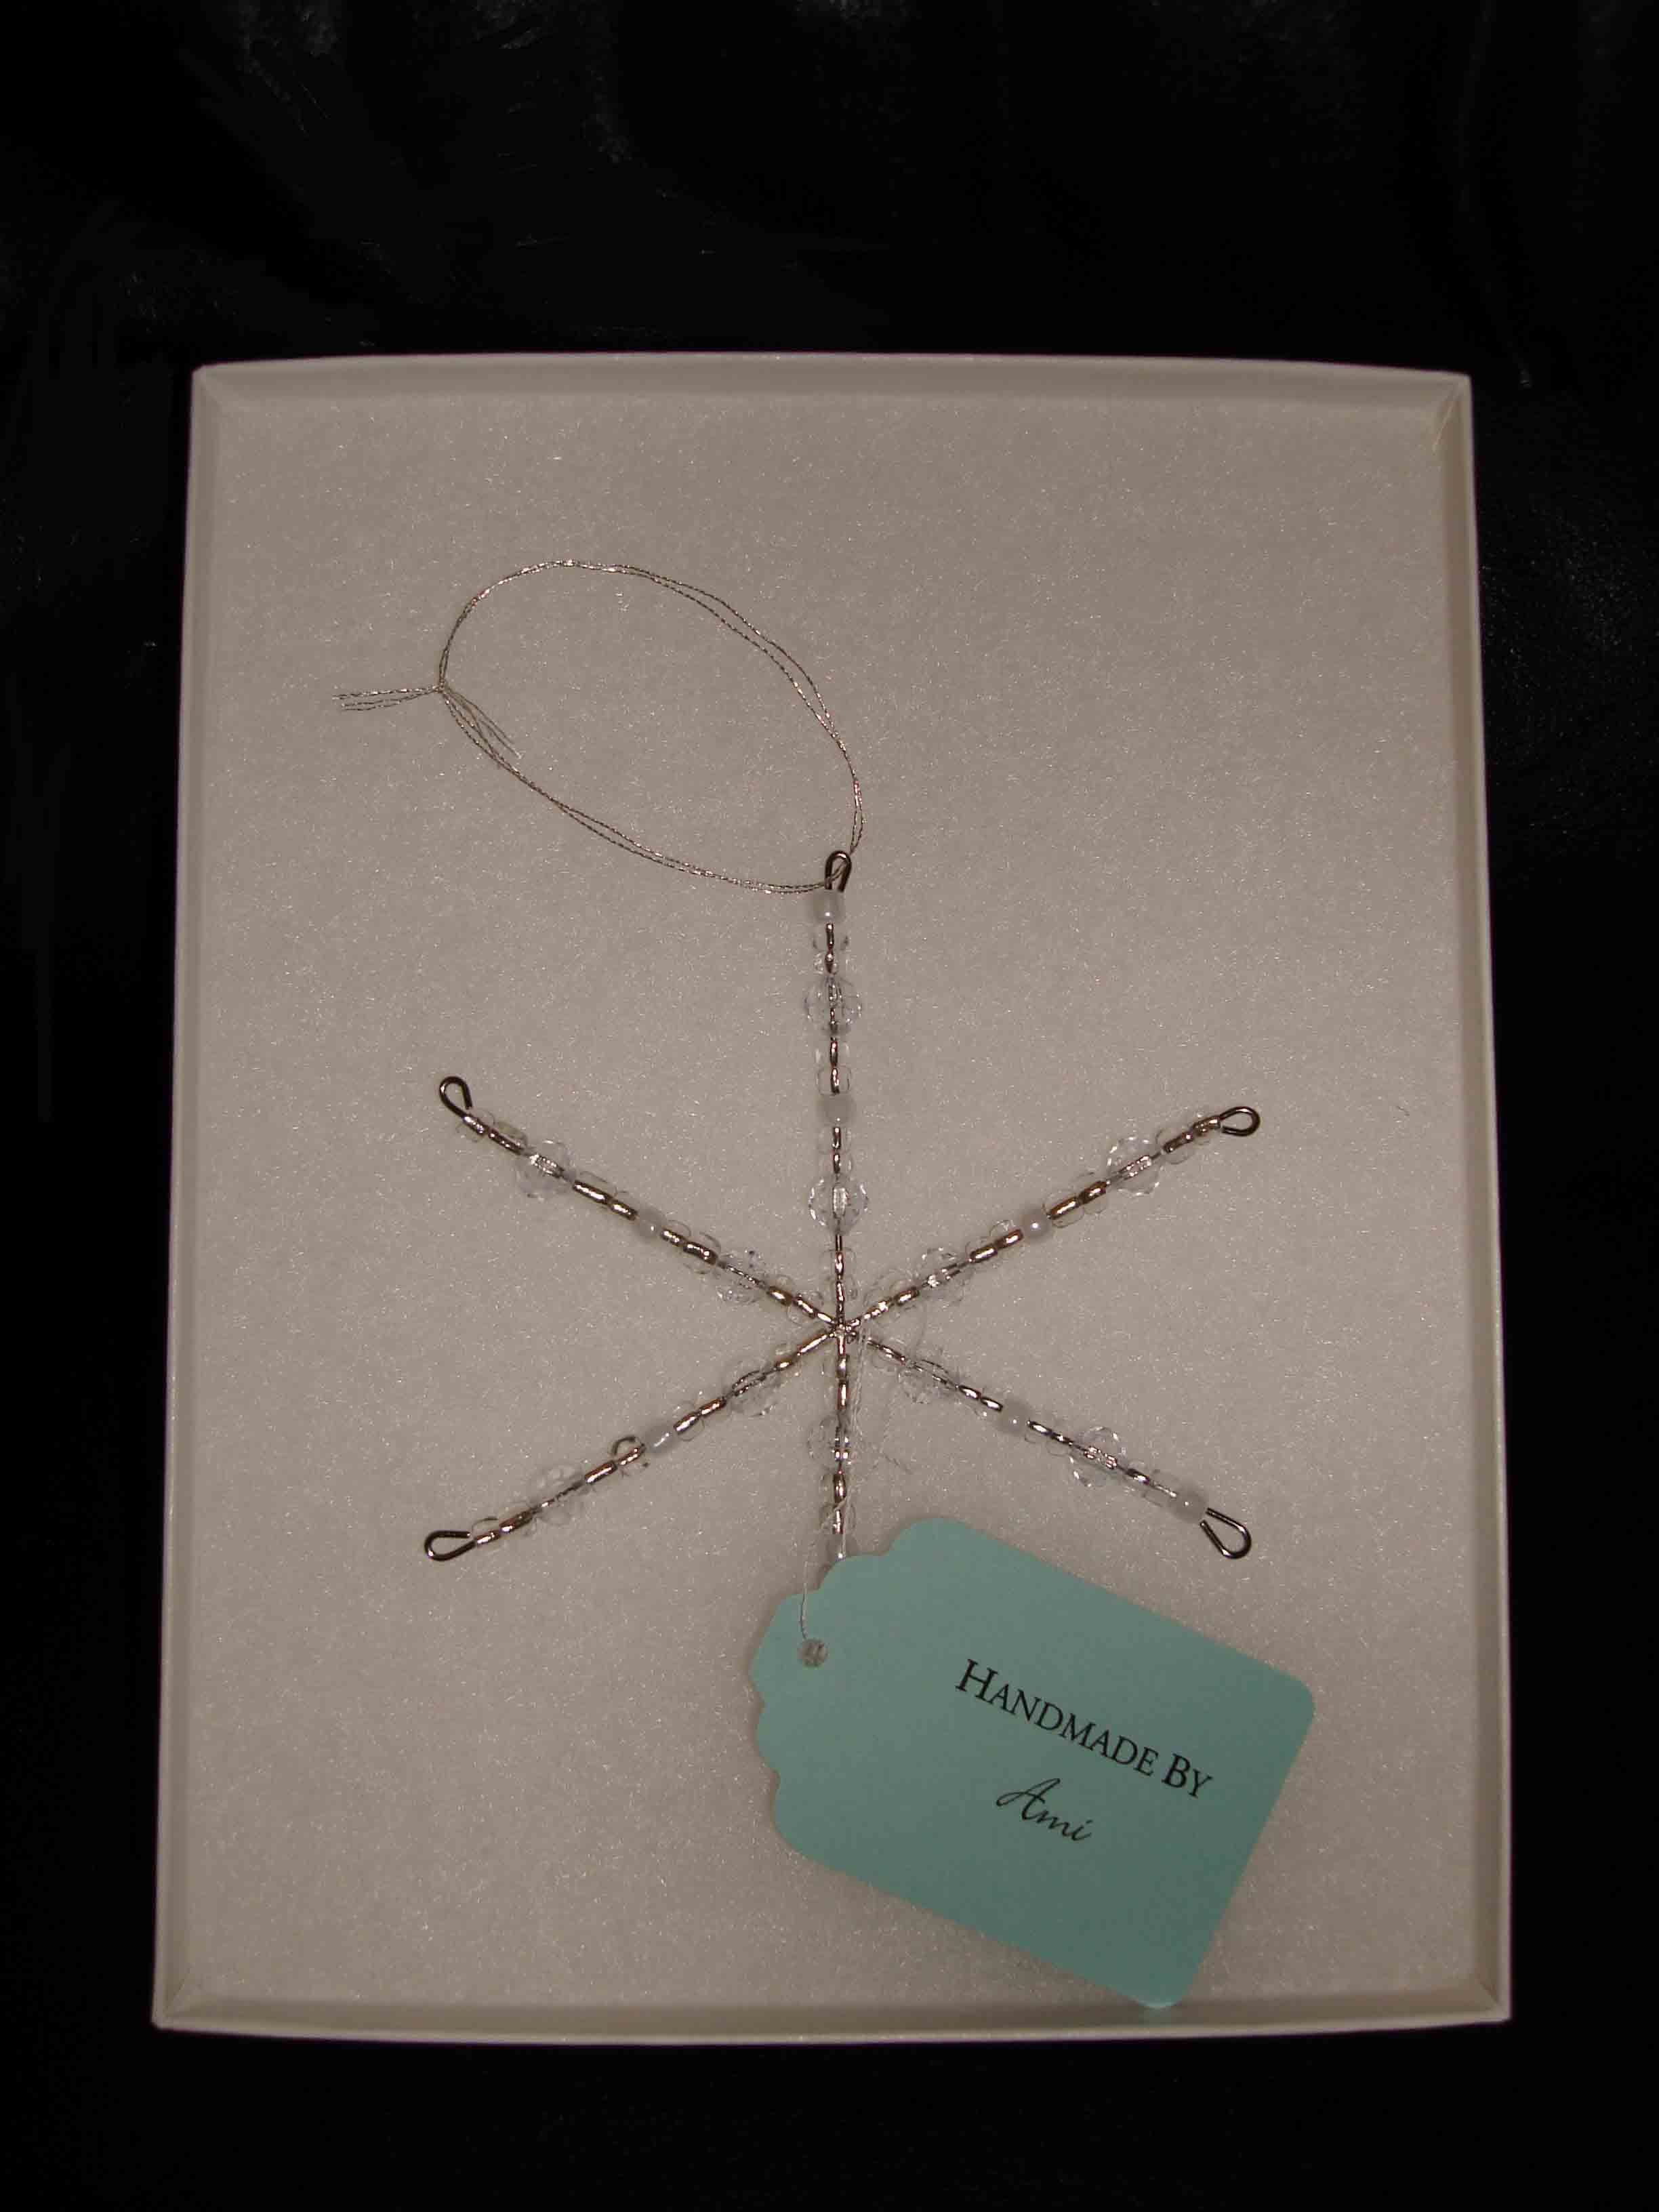
- Snowflake forms, I purchased from Jewelry Supply dot com
- Round nose pliers
- Beads of various shapes and sizes, with a wide opening to accomodate the wire (i.e. – seed beads will not work)
- String
- Decorative paper and adhesive
- Stickers, a die cut machine, or your imagination!
- Punch for the tag
- Kraft paper, white label paper, and peppermint twine
- Postcard sized cardstock
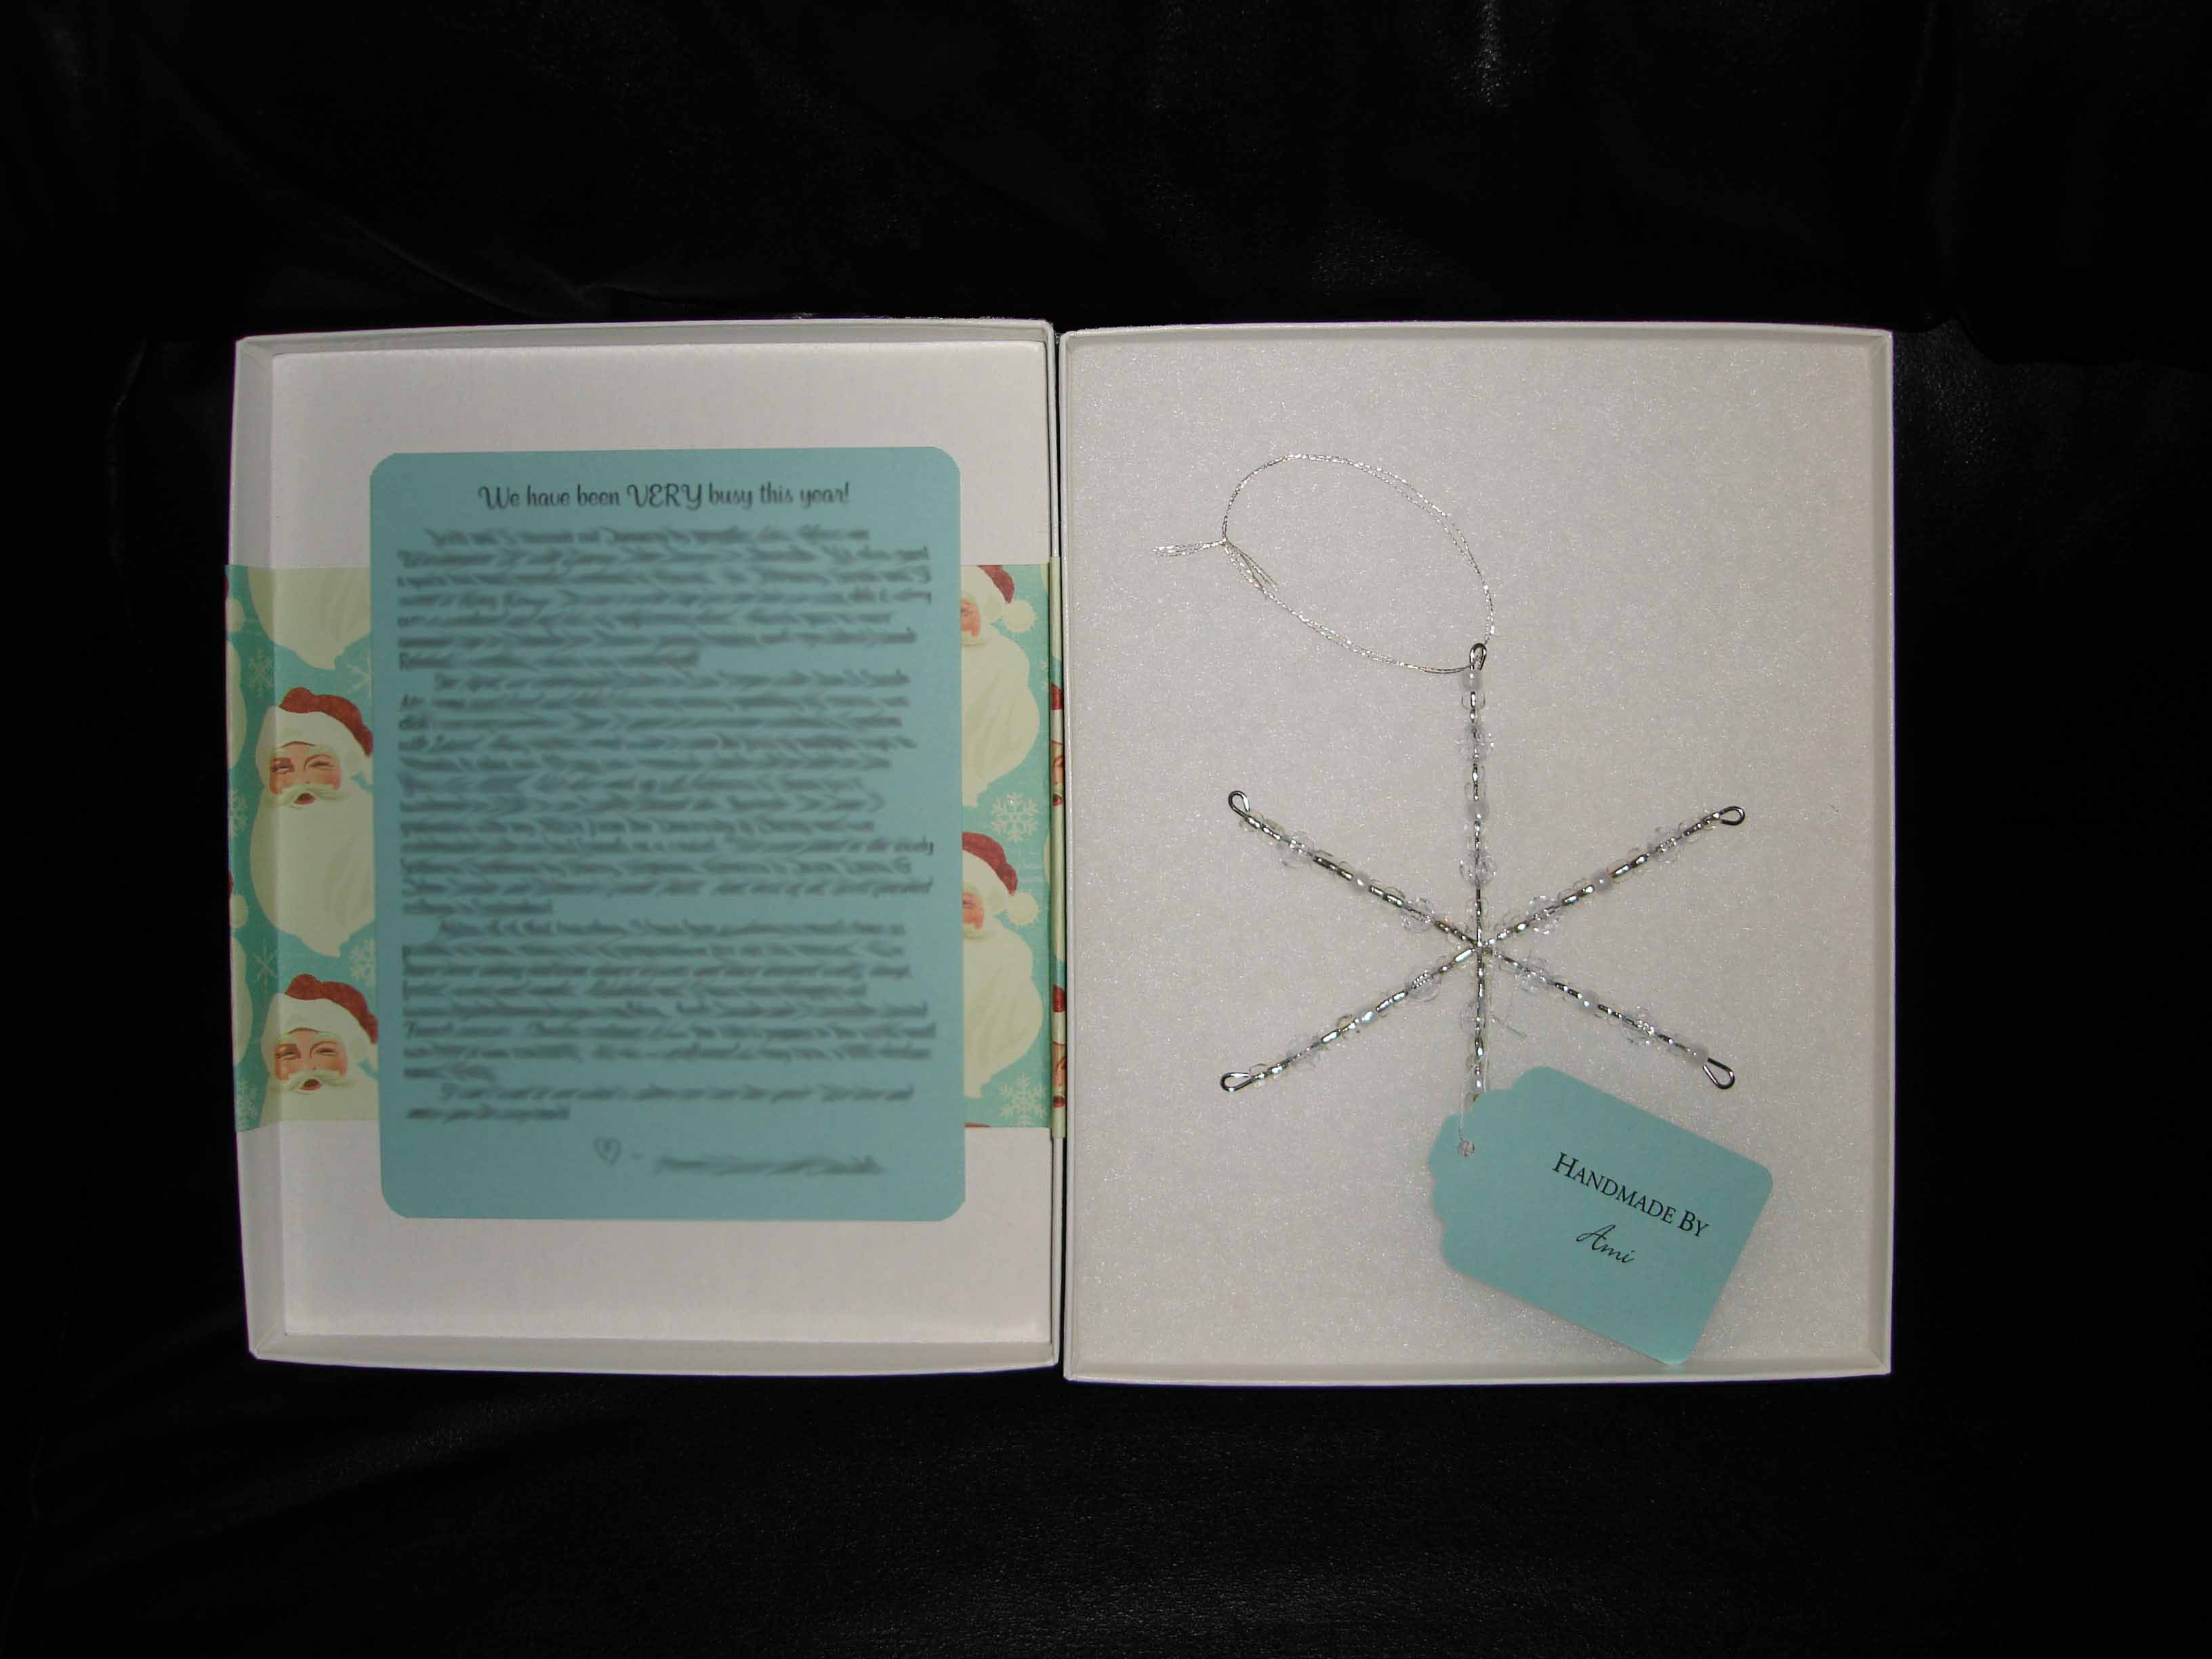
Instructions for the ornament – very straightforward! Arrange beads on snowflake form as desired, leaving approximately 1/2″ free at the end. I alternated two different patterns on every other spoke of the 6-spoke form. Use the round nose pliers to twist the end closed. Tie a string to one loop and voila! I also printed and punched out “Handmade by” tags that I attached to the ornament.
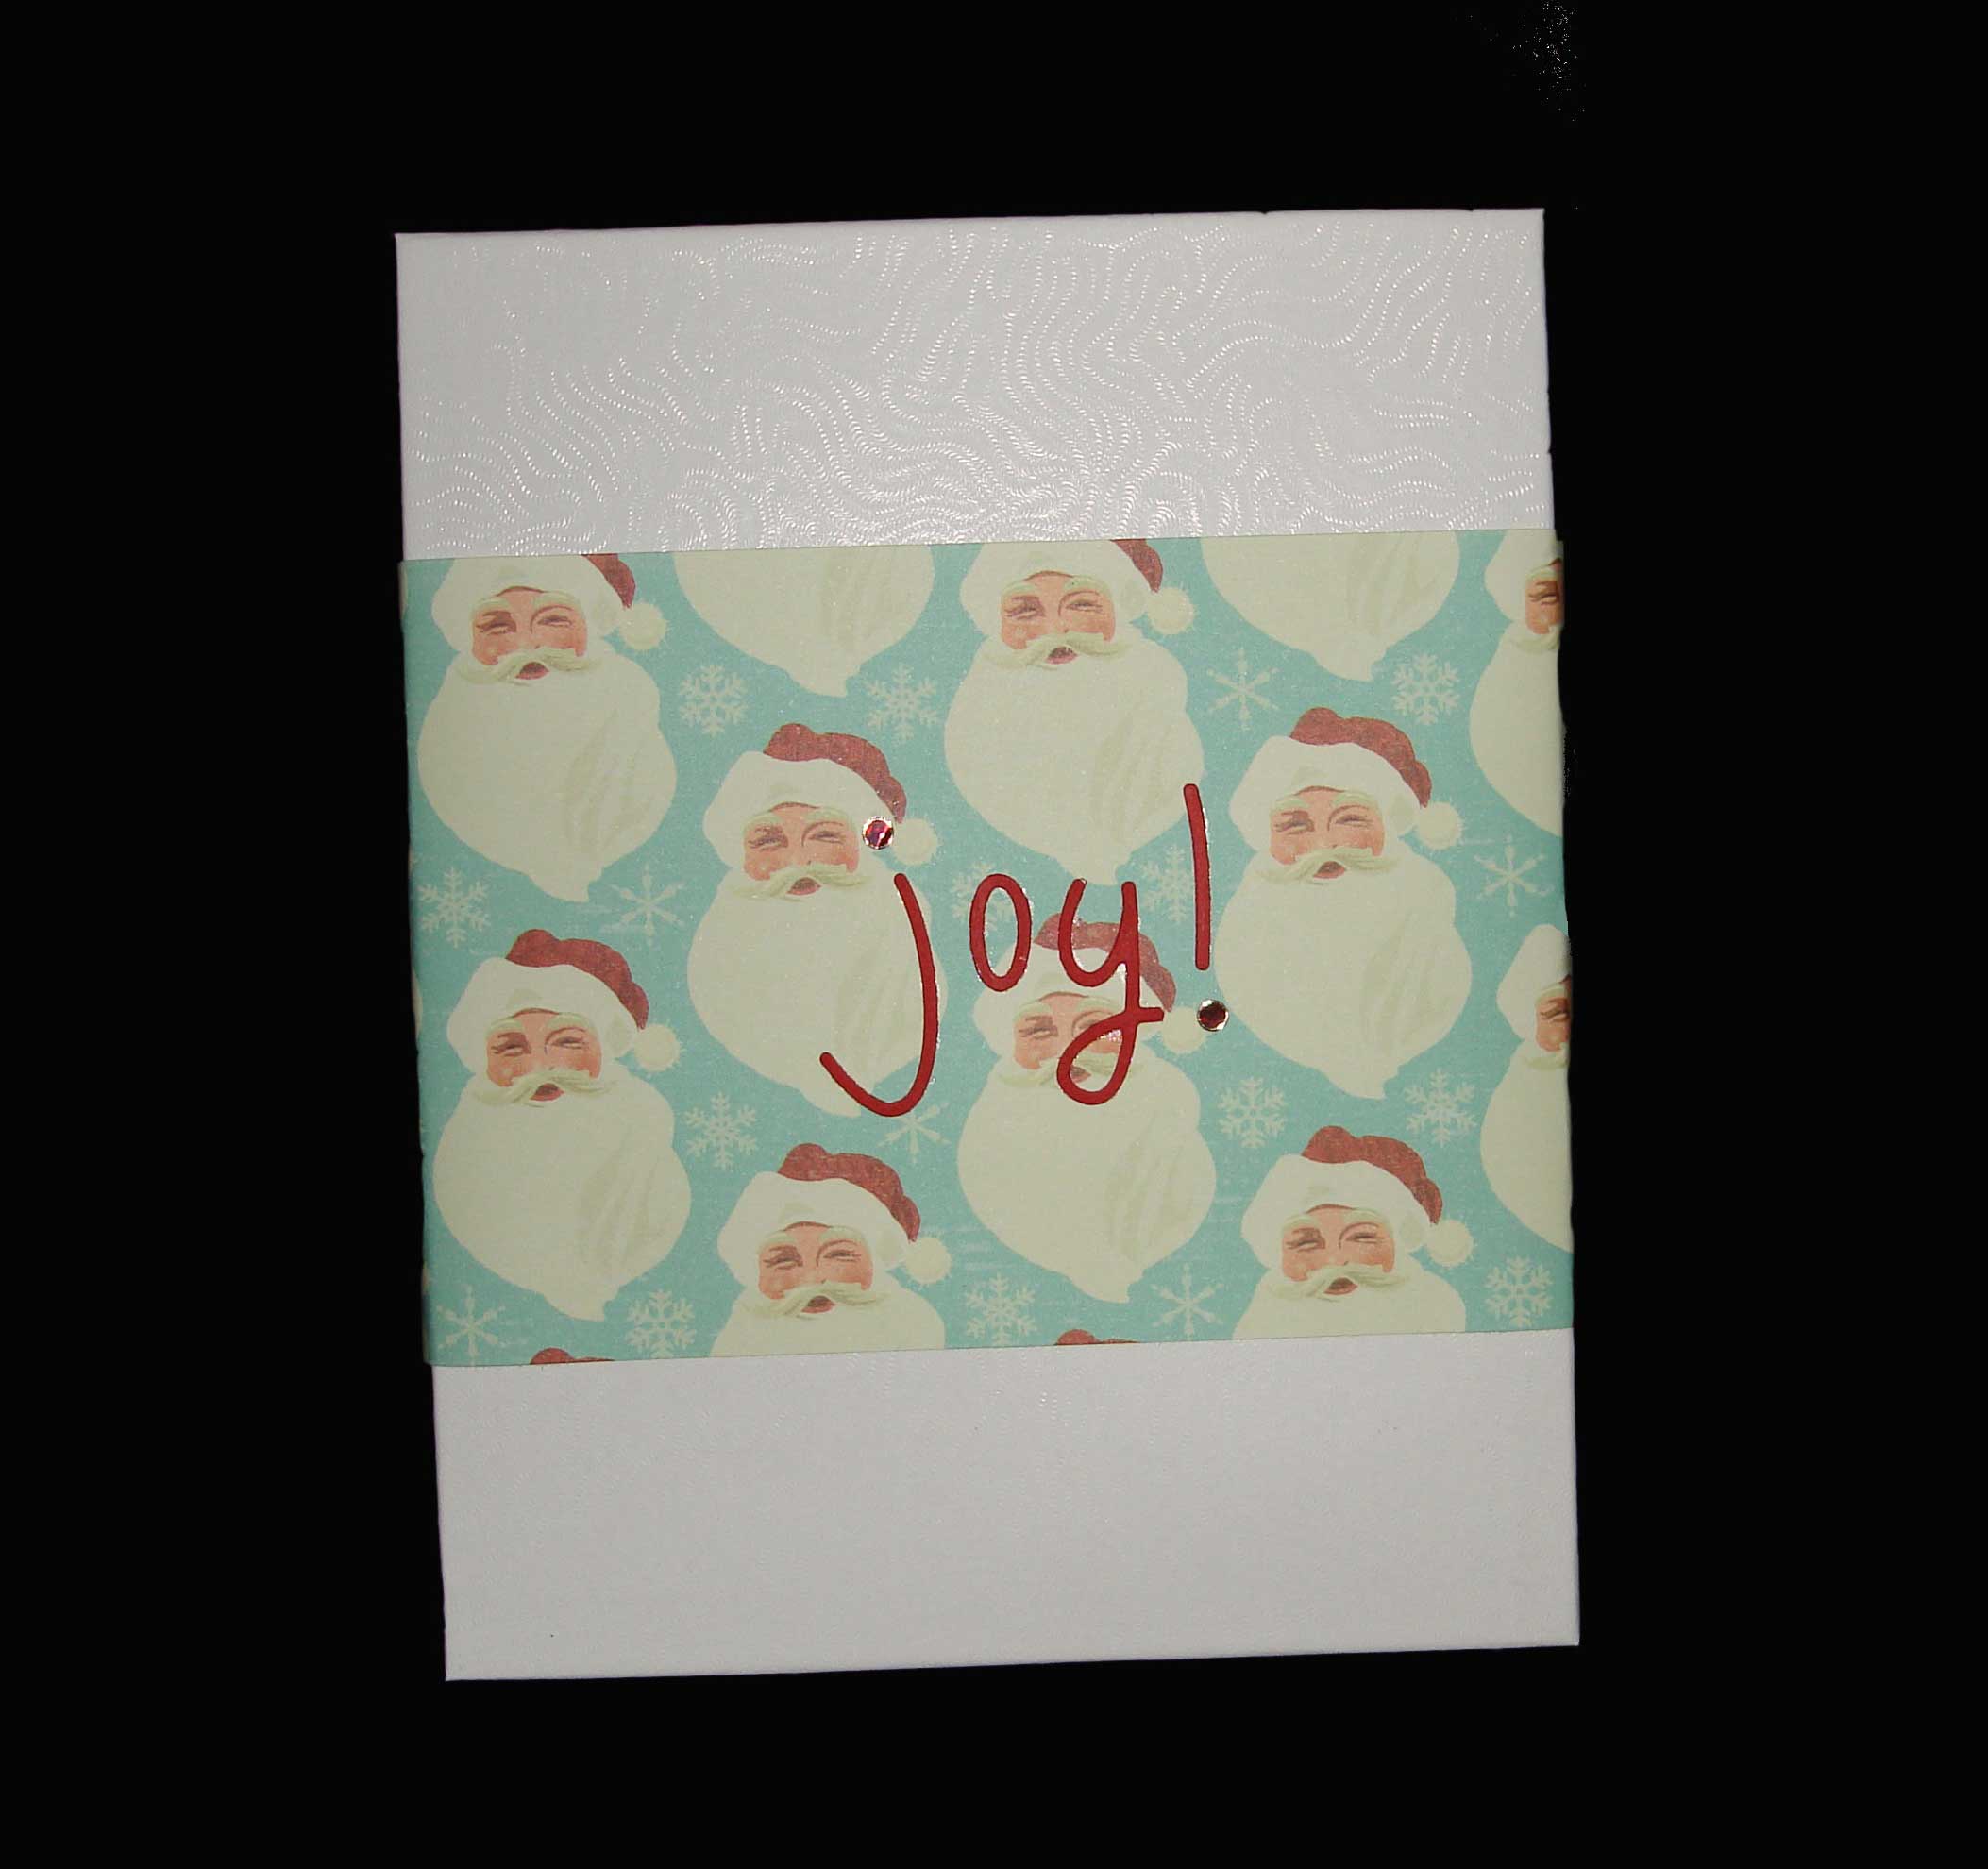
Instructions for the box (I used a 5 x 7.5″ white jewelry box): Cut a 12×12 piece of scrapbook paper into thirds. Wrap around the lid and secure with adhesive. You’ll be about 3″ short. I used this opportunity to print a postcard sized Christmas letter and attached to the inner lid of the box. Die cut the word “Joy!”, run through Xyron adhesive machine, and adhere. I used red circle glitter stickers for the dot of the j and the exclamation point just to add a little sparkle.
Wrap the box in kraft paper, print and adhere mailing label, and voila! Twine can be used for those that you’ll be hand-delivering, but cannot be mailed. Here are a few for my colleagues fully packaged:
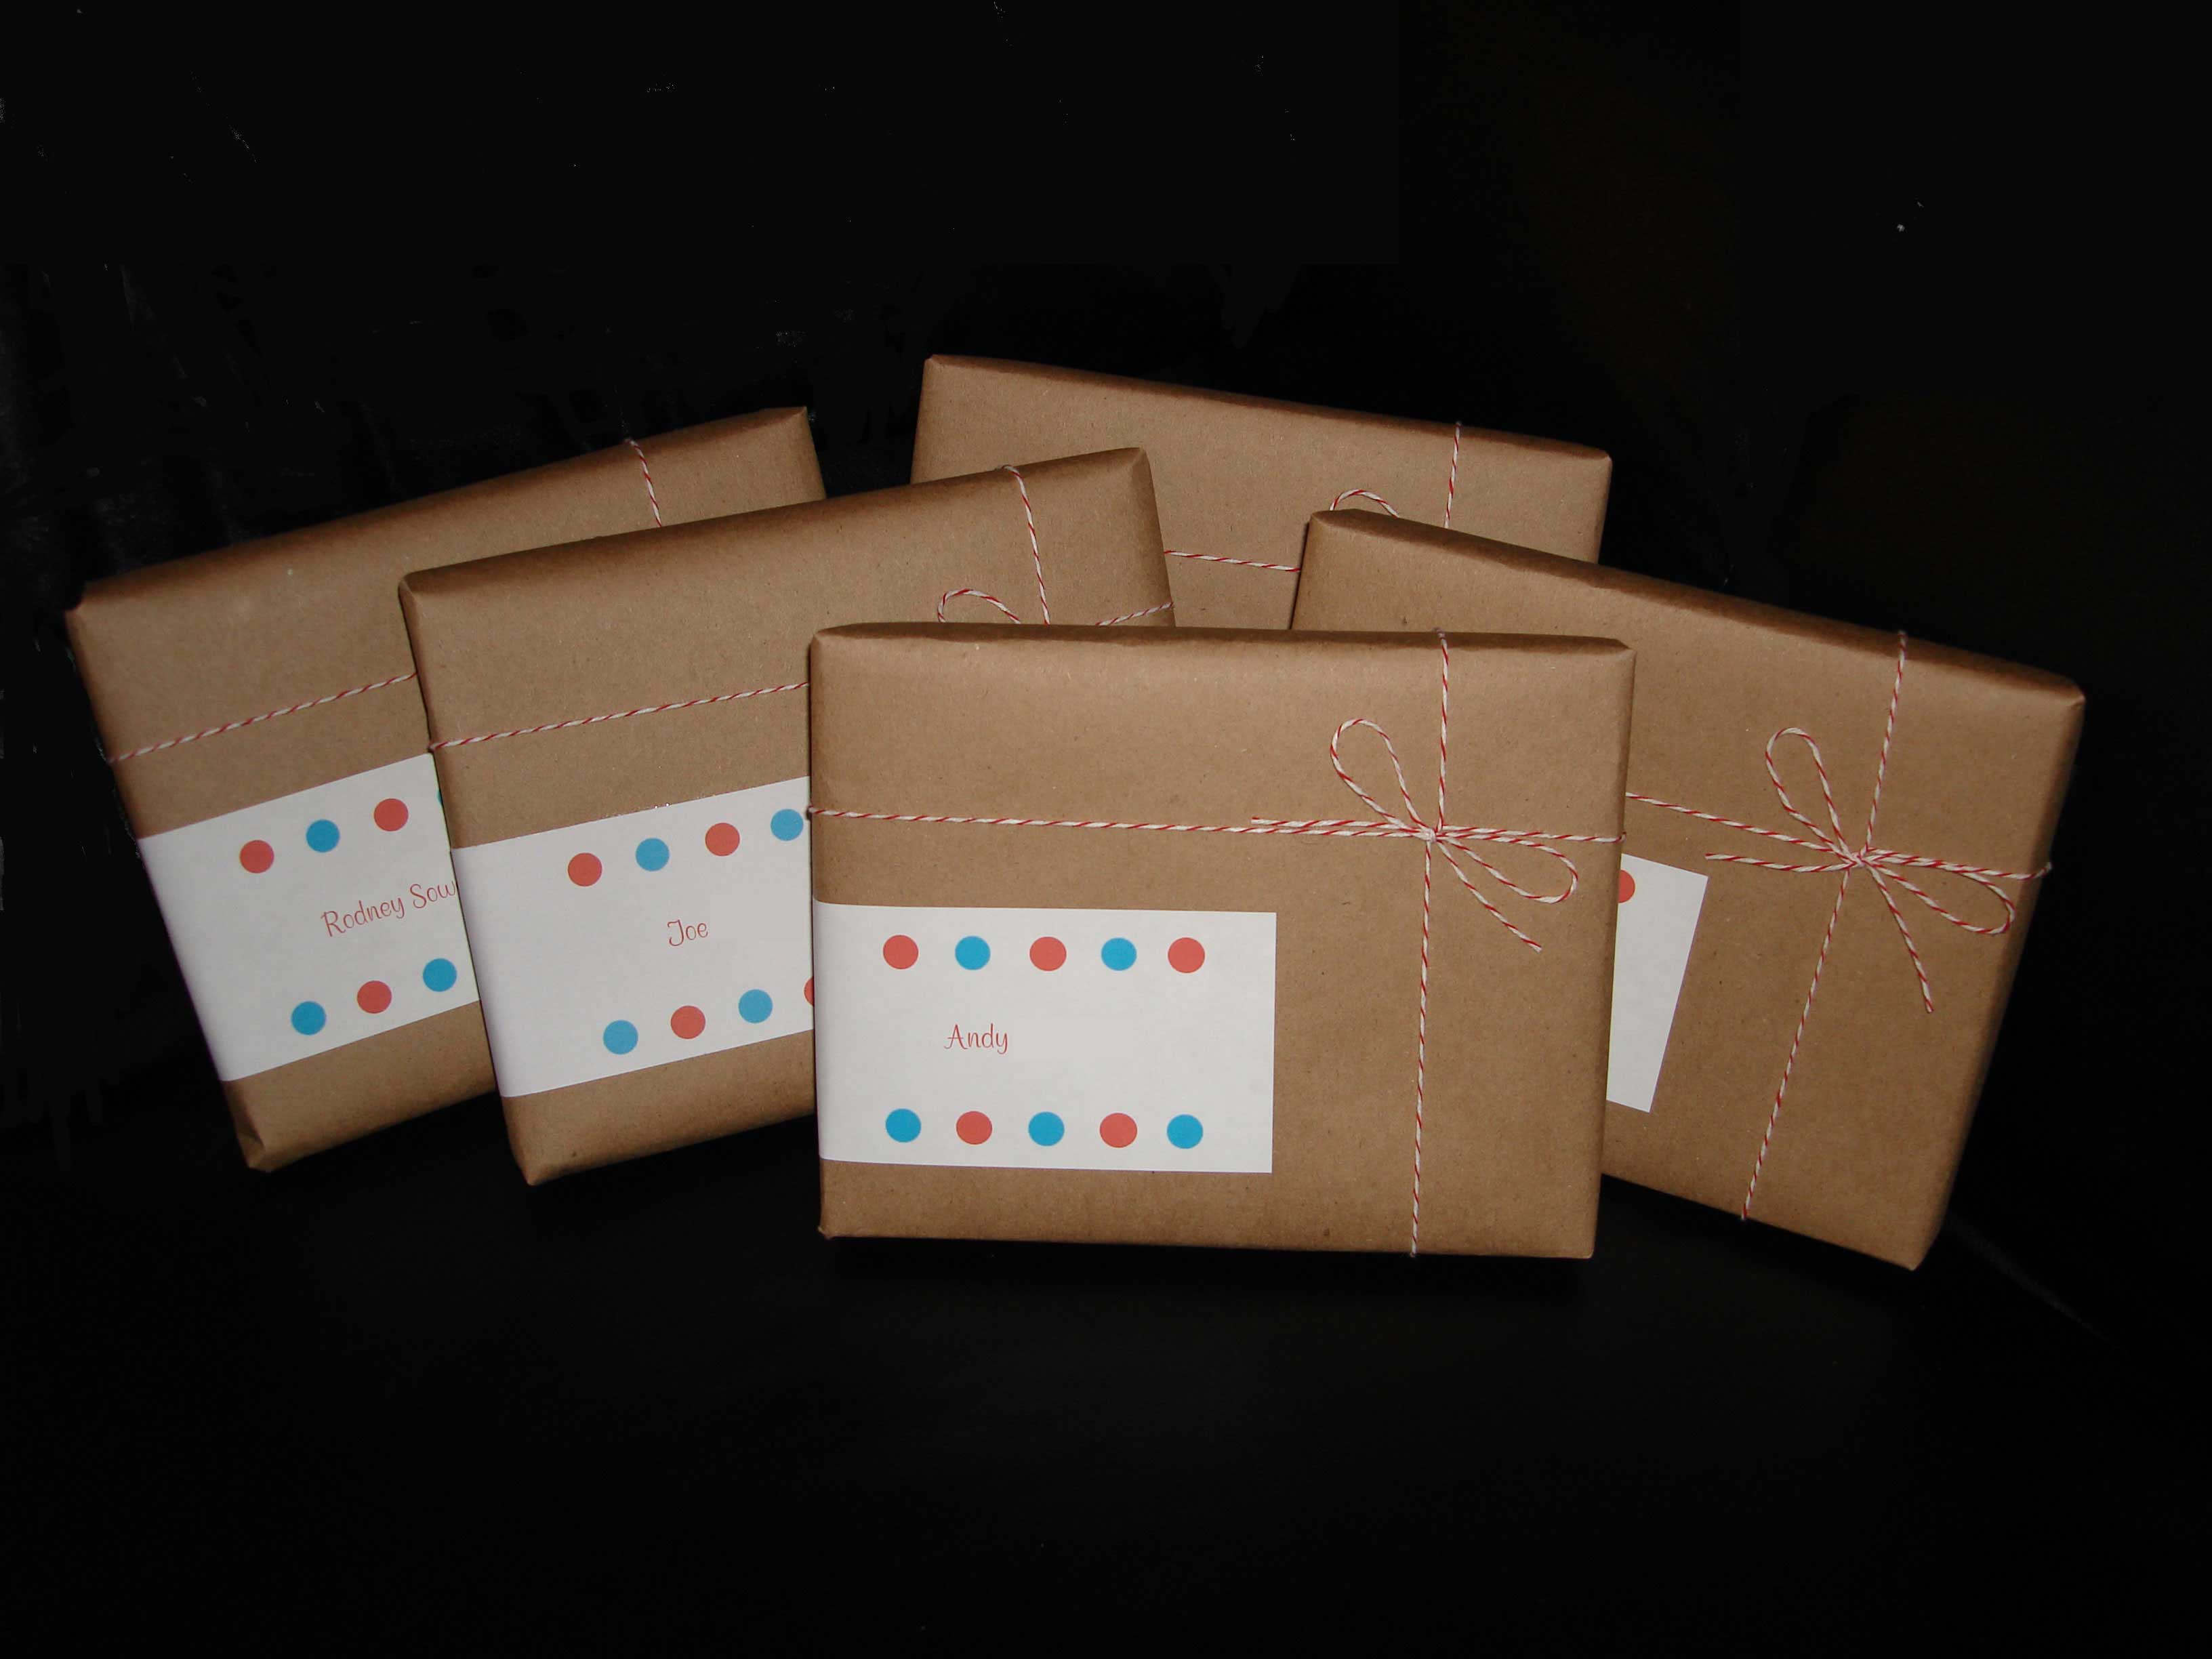
I’d be happy to send you the template for my foldover address labels – just comment and I will email it to you!
Merry Christmas!
E.