Whew! This morning’s fabulous Victorian-inspired holiday shoot was just full of holiday craft ideas! Kristen from Kio Kreations was kind enough to provide tutorials for all of her wonderful creations and you can find them all below. Since this post contains lots of projects, you can either scroll through all of it, or click the links below to jump down to the section you’re interested in seeing.
Centerpiece · Ornaments · Dessert Stand · Ring Bearer Pillow · Cardbox
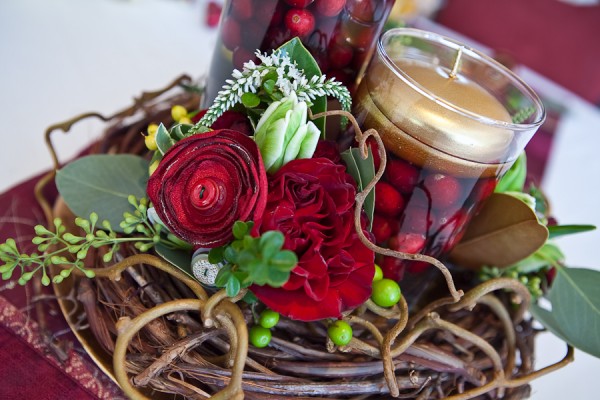
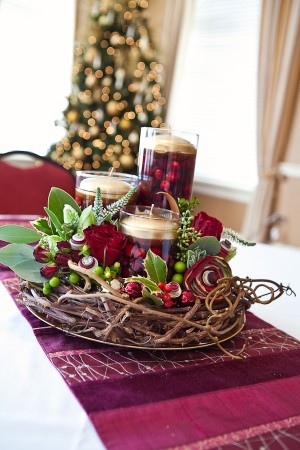
Holiday Cranberry and Wreath Centerpiece
The gorgeous wreath centerpiece is truly the gem of this shoot, and it’s completely doable for all skill levels! Kristen created a beginner, intermediate, and advanced version of this centerpiece perfect not only for a holiday wedding but also your own holiday party tabletop.
Supplies needed (for basic centerpiece – see printable version for each skill level):
- (3) varying height (but same diameter) cylinders (Crate and Barrel sells the perfect ones for about $10 for all 3 pieces)
- 12” grapevine wreath
- 12” charger plate
- (1-2) bags of fresh cranberries
- (3) Floating candles (make sure they are smaller diameter than your vases)
- (1-2) boxes of assorted glass ornaments
- Kiwi branches
- Water
Directions (for basic centerpiece – see printable version for each skill level):
- To give your wreath more texture and dimension, add some kiwi branches by weaving them into the grapevine
- Center the wreath on top of the charger plate
- Place the 3 cylinder vases in the center of the wreath on the charger plate
- Fill the vases with 1-2 handfuls of fresh cranberries
- Fill the vases with water leaving 1.5-2 inches of space from the top
- Add your floating candles on top of the cranberries (if you added too much water, remove it with a turkey baster–do not get the candlewick wet or it will not light!)
- Fill the gaps around the vases the middle of the wreath with assorted glass holiday ornaments
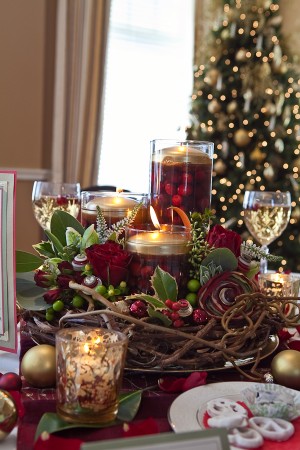
For printable step-by-step instructions and images (including a basic, upgraded, and advanced version for all skill levels!), click here.
Wreath Ornament Favors
The adorable wreaths double as napkin rings and favors, and cost only $3 per ornament to create.
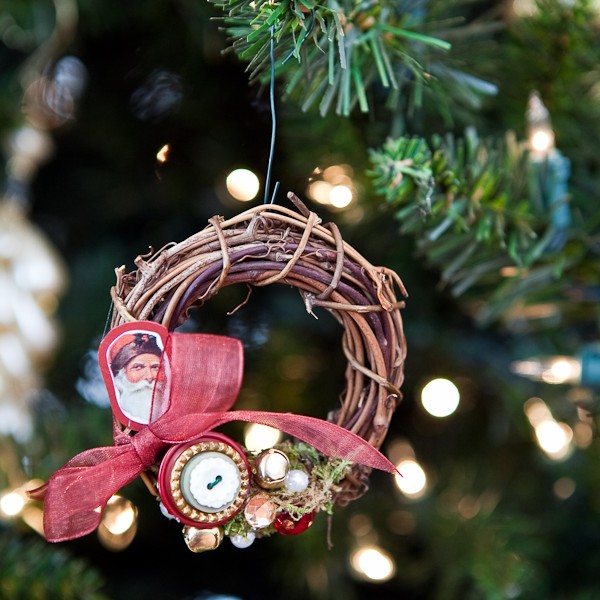
To create this ornament favor and napkin ring, you will need:
- 3” mini natural wreaths (a 6-pack can be found at Hobby Lobby for $1.99)
- Clip Art Stickers (Kristen found a book of Victorian-themed stickers on Amazon, and purchased a Dover clip art book and CD for larger computer-ready images)
- Ribbon
- Colored Cardstock
- Green Moss
- Wire Ornament Hooks or wire (to fashion your own hook)
- Misc. Accents: button flowers, gems, beads, jingle bells
- Hot Glue
Instructions:
- Glue small piece of moss to your wreath
- Tie a bow around towards the top of one of the sides of the moss
- Glue on your button flower and other accents
- Place a Clip art sticker on your cardstock and cut out leaving a little colorful cardstock border
- Glue your Clip art sticker cardstock piece to the wreath
- Add your hook (tuck it into the back so it does not show)
- Display as napkin ring at each place-setting
- Optional: Add tag explaining that it is for the guests to keep/use as ornament
For printable step-by-step instructions and images, click here.
Decorative Dessert Stand
This decorative tiered dessert stand is the perfect place to display sweet holiday treats!
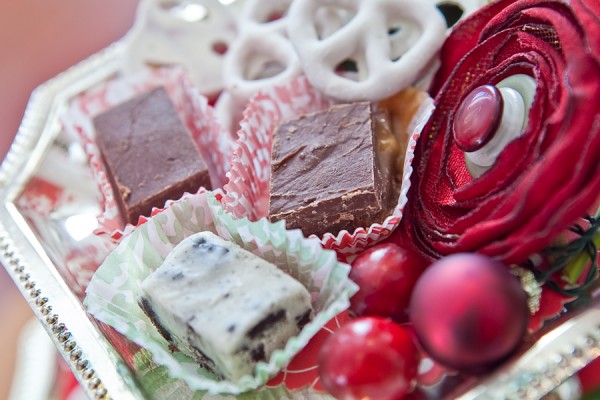
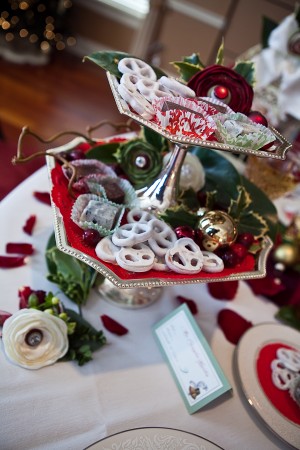
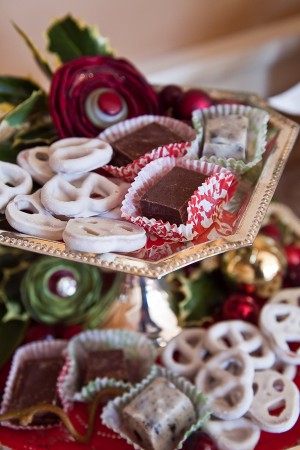
Supplies needed:
- Decorative paper or large paper doilies
- Circle templates (household items work, such as spools of ribbon)
- Decorative-edged scissors
- Pencil
- Magnolia Leaves
- Holly
- Cranberries
- Button Flowers and Fabric Flowers
- Glass Ornaments
First, create your own paper doilies:
- Measure your circle templates against your plate or stand to see which one is the perfect size
- Trace your circle template onto the back of your paper
- Cut out your circle with the decorative-edged scissors
- Now you have a cute, decorative doily that is the correct size for your plate, tray or stand
Then, assemble your dessert stand:
- Place doilies onto dessert stands. If your stands are connected, cut into your doily to make it fit onto each tray
- Add some Magnolia leaves and holly to each tier start your display
- Add your fabric flowers next
- Add sweet treats and accent with cranberries and ornaments
For printable step-by-step instructions and images, click here.
Vintage Christmas Ring Bearer Pillow
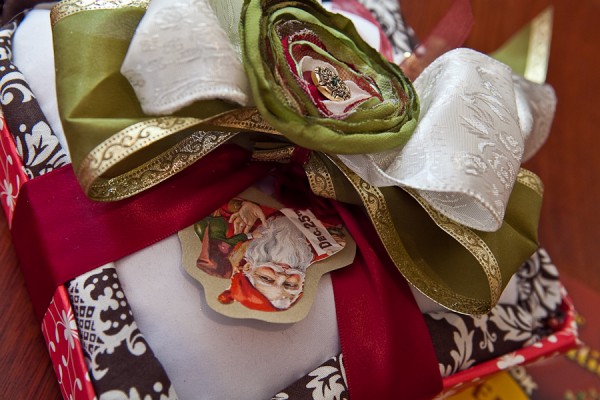
- Purchase plain ring bearer pillow at craft store and keep the bottom of its box
- Cut the box down shorter and wrap with decorative paper
- Nestle fabric and ring pillow inside of box bottom
- Tie decorative bow and add accents such as a fabric flower, jingle bells, clip art Santa, and foliage to complete the look
Birdcage Cardbox
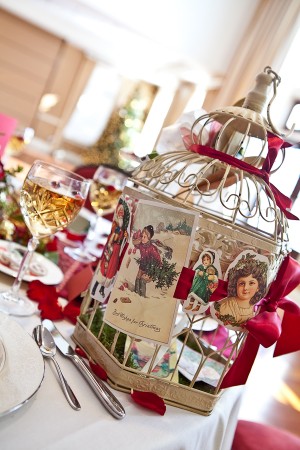
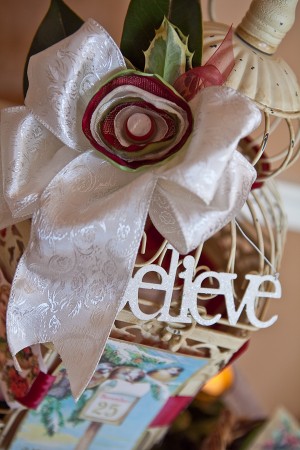
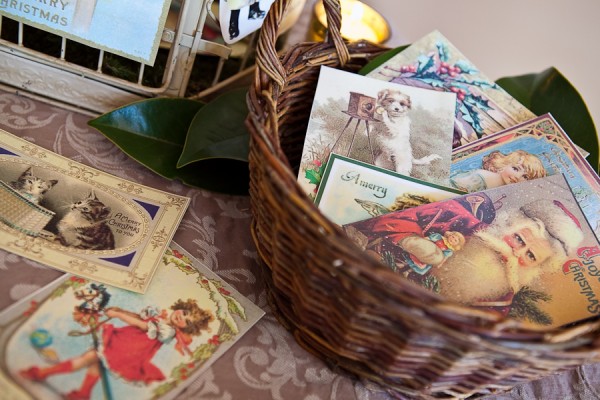
- Print vintage clip art items
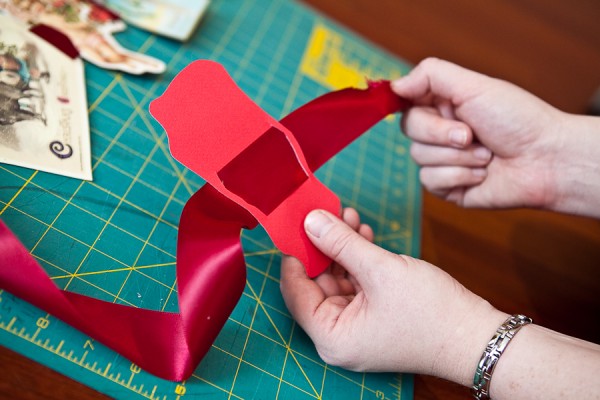
- Cut out shapes with a Xacto-knife over a cutting mat. Cut slightly larger than the width of your ribbon.
- Cut slits in side of each piece
- Slide each piece onto the ribbon
- Finish by tying ribbon around birdcage
Floral, decor, and styling – Kio Kreations | Photography – Tara Etrheim Photography | Button flowers and fabric flowers – RBK Creations | Desserts – Fudge U | Location – Arrowhead Golf Club

