During our cocktail hour, we honored Georgia by serving bellinis. Because the drinks would look identical, the idea of glass charms sounded like an easy and fun DIY project. And it was!
I ordered cabochons, a package of mirrors to fit the cabochons, and diamond glaze from [intlink id=”102″]Ornamentea[/intlink], purchased some 20 gauge jewelry wire and 4mm jump rings from my local craft store, and grabbed my stash of small paper scraps, pliers, and beads.
{author’s personal collection}
You will need:
- Round nose pliers
- Chain long nose pliers
- Wire cutters
- Needle nose pliers
- A ready-made charm, or a cabochon that can be altered (or, if you’re creative with wire, make your own charms!)
- Beads (optional)
- 4 or 5mm jump rings
- 20 gauge wire
Instructions for making these very easy charms (I am a beginning wire worker with very little experience):
- Choose coordinating but different papers. Trace and cut small circles using one of the mirrors as your guide. If you’re lucky enough to have a circle punch with the exact dimensions of your cabochons, even better!
- Run the circles through a sticker machine or cover the back with adhesive. Attach circles to the inside of cabochon.
- Coat paper completely with diamond glaze, using a pin or needle to prick bubbles that may appear. The bubbles gave me the most trouble from this exercise. When done correctly, the diamond glaze will leave a smooth, shiny, and slightly dimensional surface on top of the paper.
- Set aside to dry on a flat table.
- Attach small jump rings to cabochons.
- Cut 3″ pieces of 20 gauge wire
- Using your round nose pliers, form a loop at one end. Switch to your chain nose pliers, hold the loop firmly in the pliers and continue rotating to form a spiral. I made 2-3 full curls. You can twist inside or outside of the center of what will be your charm.
- Thread beads (if desired) and charm onto wire.
- Curl other end in same method as #7 above.
- Using the stem of a glass, a thick ink pen, a tube of chap stick or some other round object, form a U-shape with the wire, being careful not to ruin the shape of the wire by creating sharp bends.
- Slightly pinch the two curls together
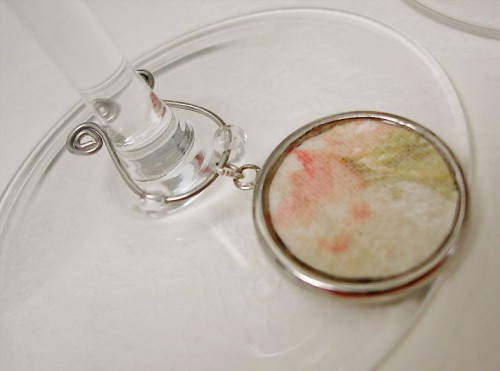
- Voila! You can slide the charm on and off of a glass stem easily!
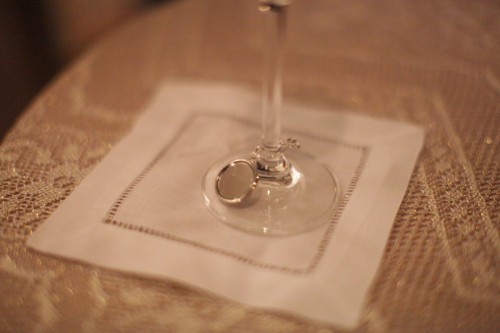
In action:
The ring is detachable, so your guests can use their charm throughout the night and also take it with them.
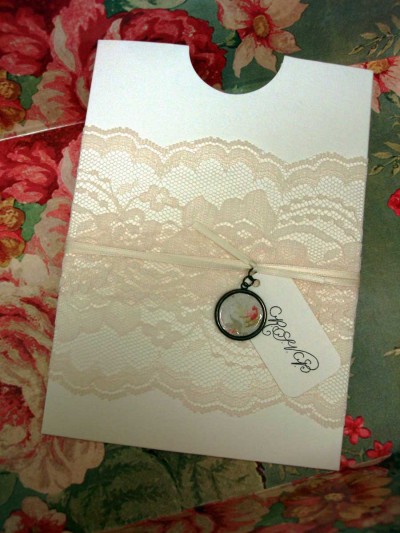
The same method was used for the charms on my RSVP card sleeves.
We actually got almost all of these back at the end of the evening. I’m thinking perhaps sets of twelve as presents? Otherwise what am I going to do with 80 wine charms? :)
What fun and easy DIY projects are you planning? Anyone doing glass charms or something similar?
Previously: Choosing My Venue, Out of Town Baskets, Do Not Disturb Signs, The Welcome Party (Part 1, Part 2), Lighting the Lawn and Porch, Bathroom Baskets, DIY Coat Check Tags, Ceremony Music, Our Same Day Edit Video, Getting Pretty, Portraits, The Ceremony, Cocktail Hour Decor

